
So here is what I did, I sacrificed a section of my bedroom closet to make them a home. And also a place to store my American flag, apparently. If I were on the ball, it would be hanging proudly on my front porch, but since I always forget to take it down at dark, I feel disrespectful. So out of respect, it is in my closet. What?!?! Anyways...

Still ugly,huh? And did I mention there is a huge picture window directly in front of this shelf? A window that open to my front yard? How will I ever hide these things?
On a trip to Walmart it came to me....
Here is how I did it:
I bought a $7 full size sheet in a color I liked. They have about a million to choose from. Just make sure it's a FLAT sheet. But you knew that already, right?
Then you'll need
-a sewing machine (or not, you can also use stitch witchery if you are a sewing machine - phobe)
-a seam ripper
-an iron
-a bar to hang your curtain on (I was able to use a clothes bar from my closet)
I measured the opening to my closet, and cut the sheet to the height, adding about 4 inches for the hem. Also keep your sheet at least twice the width of your opening, or you won't get any ruffle action. (Then it will look like you have a sheet hanging in your closet....)
 |
| I folded the bottom over twice to get a little weight at the bottom, as well as a straight hem. And since I was ironing, I stuck some stitch witchery in the hem as I folded to "glue" my hem in place. It made it much easier to sew such a long straight line later. |
I used the factory stitched top of the sheet as my curtain top. I had to open up the sides with my seam ripper, but then you are left with an open tube.
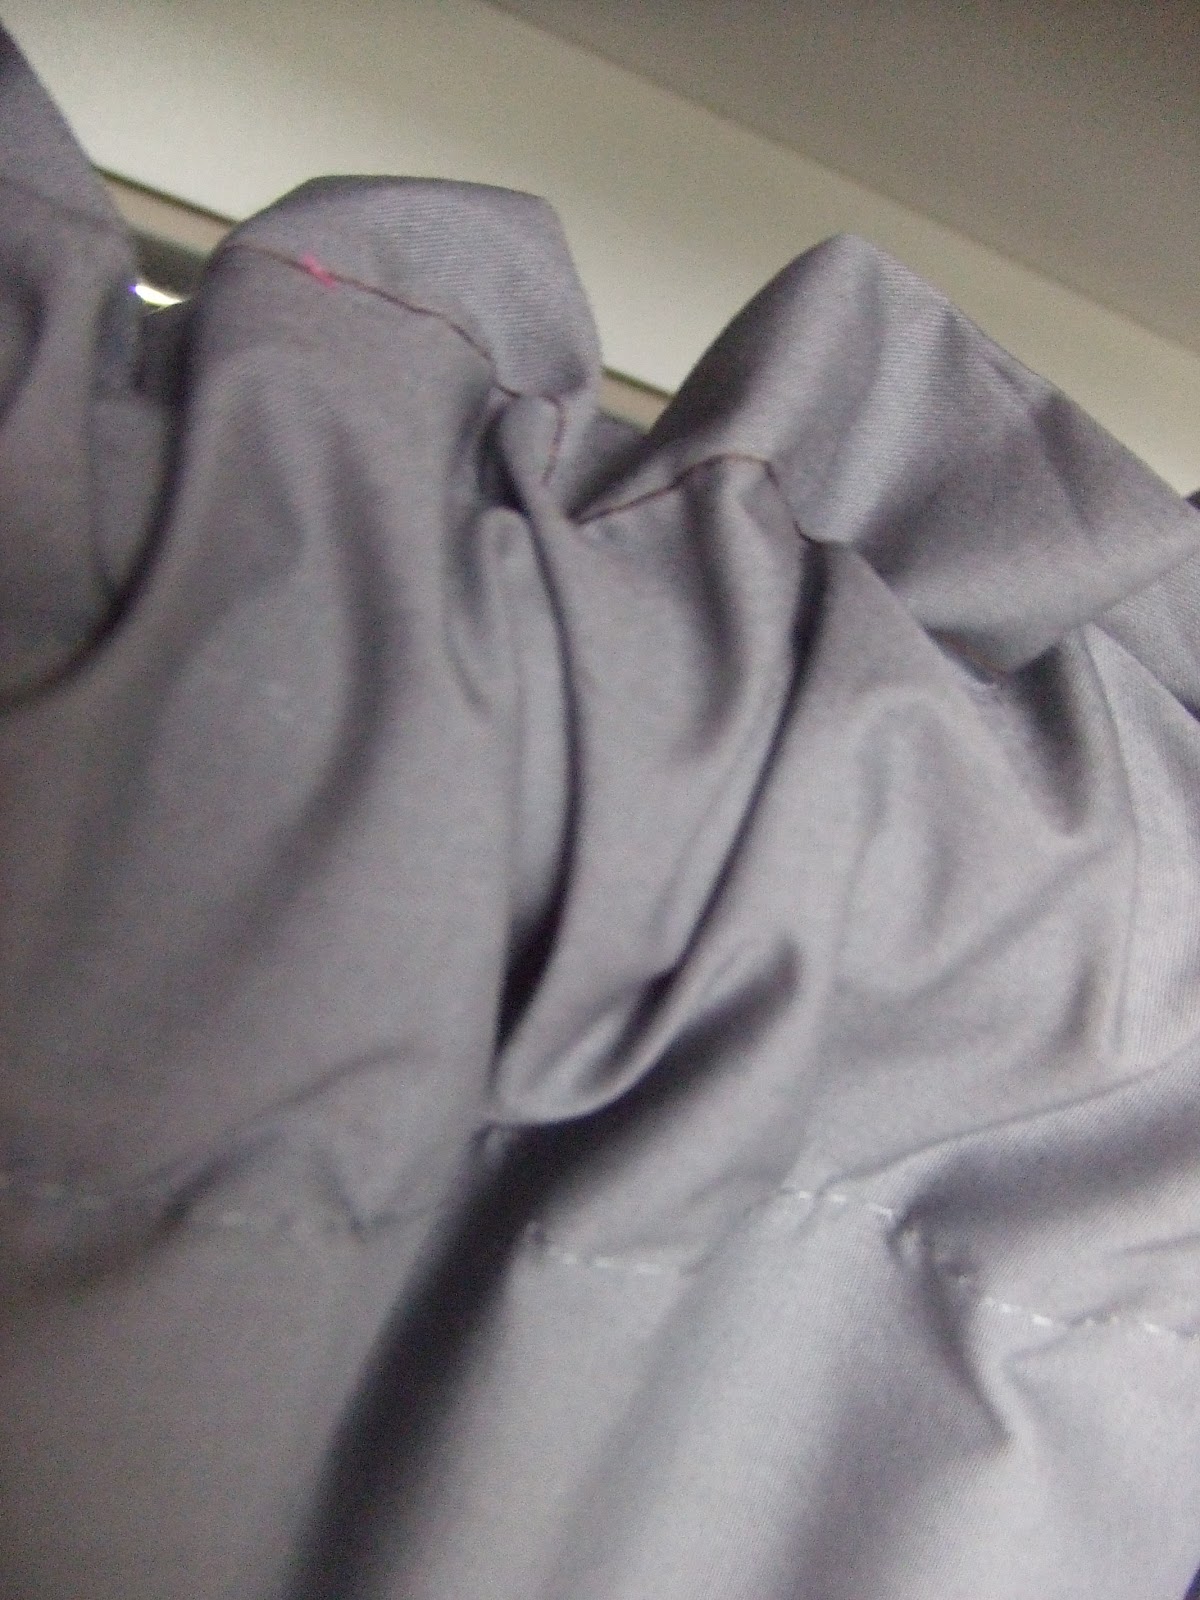 |
| The factory stitching is gray, and I used brown, because I was in a hurry. But hey, it's easy for you to see where I sewed :) |
 |
| I stitched about an inch from the top of the tube to give a little extra ruffle. |

And now I have a pretty, ruffly curtain to hide my hideous oak monstrosity's! Isn't it cute? These would work anywhere, even on a window. It's a low-sew to no-sew project that takes hardly any time at all.

Great solution! I am getting ready to make some curtains for my living room, but the fabric choices makes it so hard!
ReplyDelete~JamieS@ Scattered Thoughts of a Crafty Mom
Very pretty and what a great solution! I am visiting from Not JUST A Housewife and I am a new follower!! I hope you have a great week and that I see you around soon!
ReplyDeleteMichelle
www.delicateconstruction.blogspot.com