
What you will need:
-piece of fabric
-scissors or (better yet), rotary cutter and mat
- sewing machine on a tight zigzag stitch (or far easier!) a Serger
First determine the size that you would like your placemat(s). Cut each piece to the size, adding about a 1/4 inch to each side for finishing.
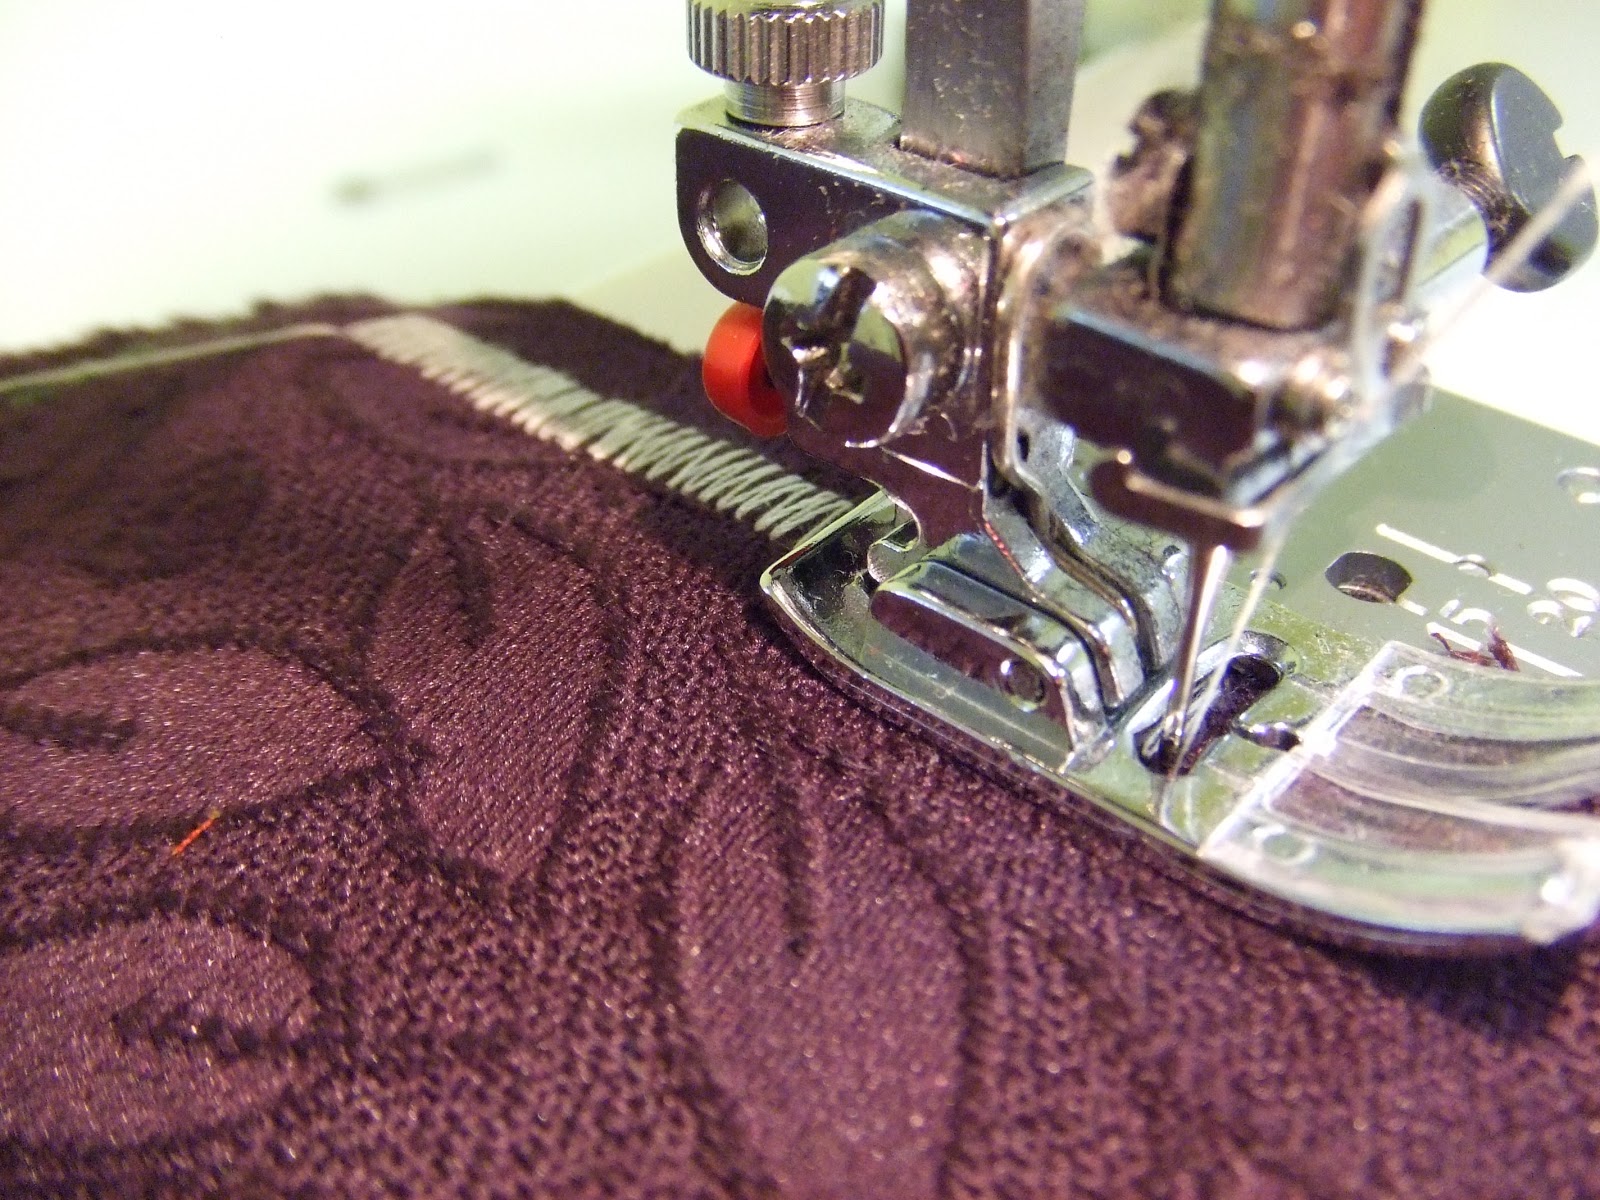

On your sewing machine, sew along all of the edges with a tight, wide zigzag stitch, backstitching at the corners.


Or if you are lucky like me, simply run it through your serger to get it all done in one, quick step :)

Voila, you are done! So easy, you could be super ambitious and make yourself some fancy, matching napkins :)

Angie it's awesome!! This makes my wish for a sewing machine even stronger! I'm so glad you linked up to the link party-I hope you come back to party next week!
ReplyDeleteKari
Newlyweds on a Budget
I think I have another easy project...I'll see if I can do it and get pictures by tuesday :)
ReplyDeleteGreat job! Thank you for linking up at Sew Woodsy last week. Hope you'll join us again tomorrow!
ReplyDelete