Showing posts with label tutorial. Show all posts

Friday, April 27, 2012

My Ruffley Table Runner- Made with my Rolled Hem Foot:)

Here is the tutorial I promised many moons ago :)
I'm home with a sick kid, so I figured today is the perfect day to take a few minutes and show you all what I did.
First, measure the table you want to put your runner on.  Do you want it to hang over? If so, add that to your measurements. Then add 2 inches to each side. You will need TWO INCHES ON EACH SIDE :)
When you have your size, cut two pieces of fabric of your choice, one for the front, one for the back of your runner. I used grey on the back of my runner, so I cut one of my rectangles in grey, one in yellow stripe for the top. 

Then cut  the top piece in half, right down the middle. Set the other piece aside, for just a minute.


Pick your ruffle color,  which will be 4 inches wide. For length, measure the side of your runner, top to bottom and multiply by 2. I like to add a few extra inches to make it extra ruffley. CUT THREE OF THESE, BUT SET ASIDE TWO FOR LATER.

Set your sewing machine to a basting stitch, or the longest stitch you have. Sew along the edge of ONE OF YOUR ruffle pieces.  Take it out and pull the bottom thread to make your piece ruffley. Repeat down the other side of the ruffle. *important: don't forget to reset your stitches...you don't want to baste the entire runner together...it will fall apart on you :)
Once you have a ruffle, put the right side side of your ruffle along the right side of one of your runner front rectangles. I pinned it in place to make sure the ruffles stayed when I sewed. This also keeps your pieces from slipping around while you sew.
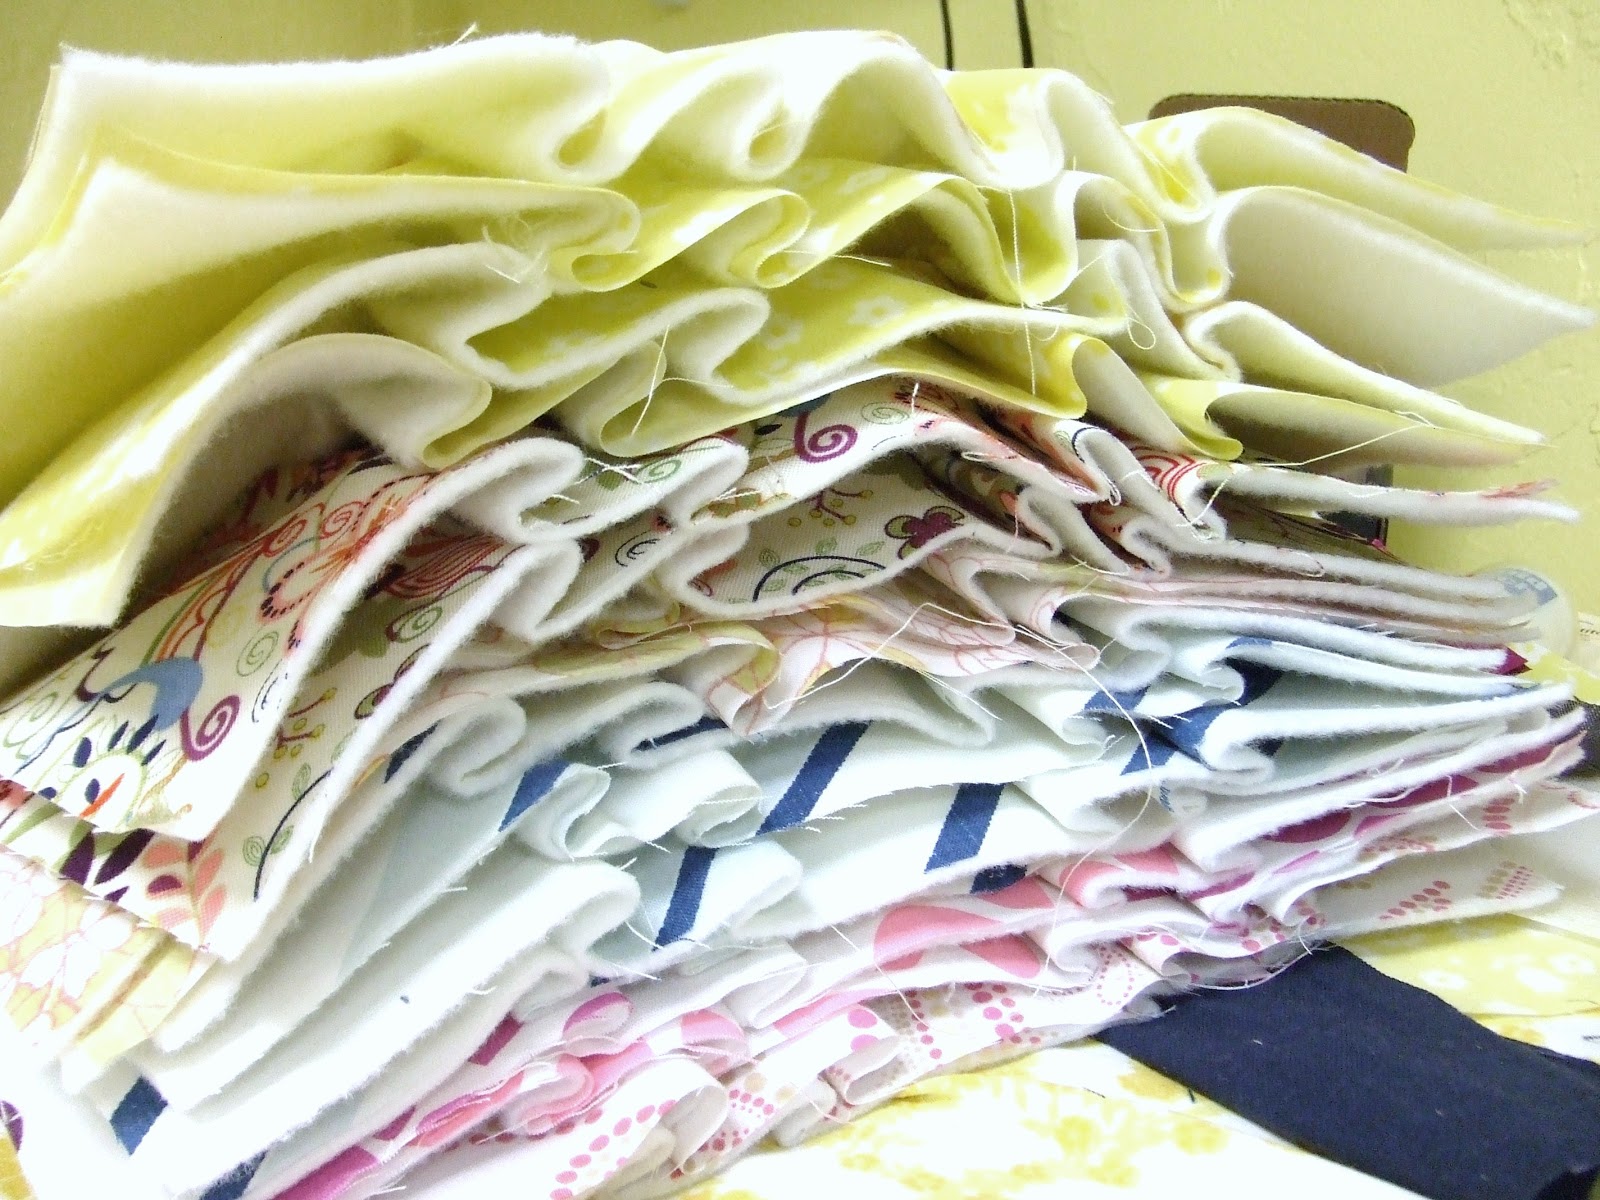
Repeat on the other side of the ruffle, and the other rectangle, until you have one rectangle that looks like this. (below) Don't worry about whether or not the ruffle is even on both sides. Having it gather different on both sides gives it a nice look. Then iron your ruffle down , aligning the whole thing back into a nice rectangle. It should resemble a runner right now...

Now is when I attached my ruffle foot to my machine. We will be making the ruffles that run down the two ends of the runner.  I love ruffles!

Finish one side of your ruffle with the rolled hem foot.
Then repeat on the other ruffle. This pic shows one ruffle done, laying next to the one I'm working on, so you can see what the finished edge looks like.

Next I ironed a think piece of interfacing to the bottom piece of my runner. I just wanted a little bit of substance to the runner, so you can skip this step if you don't have any interfacing. (my backside is grey, just to clarify)
Next, I sewed my ruffles to the top piece. I only did this, because I wasn't planning on putting on a backing. If you choose not to put on a back, you will be done at this step.  If you want a backside on your runner, then just pin the ruffle in place. Remember, the right side  of the ruffle will be on the right side of the fabric, lining up the raw edges. I tried to show it in the picture below by folding back the runner after I sewed it. {sorry, I'm horrible at explaining things}
*if you are not adding a backing to your runner, this will be your last step. 
Topstitch along the ruffles, as shown below. This adds a finished look and helps strengthen the runner.
 If you ARE adding a backing,  don't topstitch yet...keep reading ;)

To add your backing

Sandwich your layers together, right sides facing each other. Make sure that you tuck your ruffle in between the layers, or you will have a ruffle INSIDE your runner when you turn it out. I know...I did this! DUH!!!
Pin all around the edges, leaving about 4 inches on one side to turn. I trimmed along the outside before I sewed, so it would be easier to sew a straight line. My grey rectangle was now a totally different size, so a smart person would make the back piece at this point. But I felt like the uncut piece gives you a better idea of the size you intended for the runner to be, so you can use that as your guide.
Turn out, and look at your runner! It should look pretty by now :) But we're not quite there yet...

Next, iron everything really good, so your edges are crisp and even, and that your hole from turning is tucked in and invisible. Pin everything in place....you are almost done! Topstitch along all 4 sides of the runner.
Topstitch along both sides of the middle ruffle for a nice, finished look.
This is the back, after I top stitched. Nice, isn't it???
Voila! Instant pretty on my table. Well, maybe not instant, but mine was done in less than an hour ;)

If you complete this, I'd LOVE to see your pics! Feel free to post a link here, or post a pic on my FB page 

And please, if my instructions are unclear, let me know so I can fix them ;)

Have a great day!
Angie

Thursday, February 9, 2012

6 tips I've learned for organizing my work space

When I first started sewing bags a couple of years ago, I was working out of my dining room. I hated having to put everything away at the end of every work day, so I eventually moved down into our storage room. There at least I could leave my ironing board up, my sewing machine out, and my projects half finished! Then a little more than a year ago, my husband upgraded me to my current space, our former excersize room. Now that it is finished, I feel less embarrassed to share with you a couple of tricks I've learned over this time, on how to organize my space, supplies and projects...


1. One of my problems was always forgetting to turn things off. I can't tell you how many times I've left my iron on, or walked away with my sewing machine lights still burning. So I configured my space and cords (of which there are many!) so that they could all be plugged into one surge protector. I checked with my electrician friend, and he assured me that this a perfectly safe:)  This way, when I start to work, or finish work, I just flip one switch, and everything turns off! There is also another reason I did this...last summer, while I was working, our house got struck by lightening. Fortunately all of my equipment was fine, but I don't want to take any risks. Now I have only ONE plug to unplug durning a bad storm. Ahhh, easy peace of mind :)

Now I have only ONE plug to unplug durning a bad storm. Ahhh, easy peace of mind :)


I have yet to figure out a chic way to hide all of my cords...any ideas?!?!

2. I also have all of my supplies stored in this hideous, bright red, professional tool box.
I camoflauged it by hiding it under my ironing table, but it is still an eye sore.
My soulution? A shower curtain, attached with a tension rod.

I also made myself a
floor mat cover out of the same shower curtain to
cover my ugly, industrial rubber floor mat.
Much cuter, I must say!


3. I got a great idea for storing my piles and piles of fabric. I made little mini fabric bolts out of foam core board. It is like a mini fabric store on my cutting table. I keep as many of my prints and textures as I can on there, with an extra cabinet of solids or pieces which are way too big for the bolts in my closet.  Here is a link to the tutorial where I found the idea...thanks!


4. After trying a tackle box for my small parts, I came up with the economical and cute idea of using different size mason jars. I love the way this looks!


5. I never had enough room on my ironing board for all of my pieces, so I had the idea of transforming a tabletop into my ironing board. I layered a baby crib mattress, bath towel, and Insulated interfacing. Then to make it look better, I topped it all off with a really cute vintage sheet, cut down to size. This is the table I work at 90% of the time, and it works great for me!  
                     

              *disclaimer- The steam on your iron WILL RUIN the table top,even with all of the layers. So PLEASE don't try this on a
table you plan to turn back into a table. Capiche??? Good :)

6. Pegboard. Who knew?? I took a scrap of my Dad's old peg board, painted it blue and Voila, I have a place to keep my tools within easy reach, while adding a punch of color to my room at the same time! This would be a great addition to any craft room, and can be customized a gazillion different ways with different hooks, shelves, colors etc. Have fun with it!

So there it is, a few lessons I've learned from my mistakes! If my studio were tidy-er, I would share some more, but I guess that will have to wait until another day!


 I hope someone else can take some of these tips and find their own creative way to spruce up their work space. I would love to see pictures ;)

Gussy Sews Inspiration Workshop!

Tuesday, November 29, 2011

Brewing a STRONG Travel Mug of Coffee in Your Keurig

This is the inside of a k-cup. It has actual ground coffee in it, not instant coffee, and a teeny tiny cute mini filter, which is what makes them famous for fresh tasting coffee :)
I have a love affair with my Keurig. I got it a year ago, and the honeymoon phase is still not over! But it wasn't always like that. Last Christmas when I opened it (a gift from dear ol' Dad!) I couldn't wait to brew that first "perfect cup of coffee". So I woke up Christmas morning, fired it up, stuck in my travel mug, set it for a 12 oz cup and brewed. A weak, watery cup of coffee. Thinking it was a fluke, I tried another. And got a weak, watery cup of coffee. This was bad, because I yearn each morning to fill my 16 oz mug and sip away! But I want my coffee to TASTE like coffee. Even if it's in a big cup. I guess I want my cake and to eat it to ;)


I did a little research online and discovered it is not recommended that you make a cup larger than 8 oz. What?!?! Then what is the point of the 12 oz setting? The problem seems to be that the water runs through the grounds quickly, which is fine and dandy if you want a small cup. But if the water runs through quickly for a large cup, the grounds aren't saturated enough, so you get a weak cup of coffee. Does that make sense?  One well meaning blogger suggested you pop the lid halfway through brewing to pause the cycle and give the grounds time to steep. I did this for a while, which did in fact make a  much stronger cup but realized that this can cause damage to the air pump in the machine. SO DON'T DO IT THAT WAY :)


After some trial and error, here is my best method for brewing a perfect 16 oz travel mug of STRONG coffee :)

Start with a dark, or bold coffee. We all have different tastes, so test the different flavors and see what you like. Some of my faves are Dark Magic, Santas Buzz, Kona Blend, and Neumanns Own Extra Bold. Or, use a my kcup and fill it with whatever brand you like.

Set your machine to brew an 8 oz cup. If you have a smaller machine, it will automatically be an 8 oz setting. Hit brew, and walk away for a minute while it works. (I am a multi-tasker. I can't wait the 30 seconds it takes to brew!) I usually do 15 other things here such as make lunches, eat breakfast, yell at kids to hurry up. It's ok, the coffee can steep for a few minutes ;)


Get out your creamer if that's what you like. Today I was in a vanilla mood.... BTW, I'm loving the new natural creamers. Why did it take us so long to discover that real cream tastes better. HELL-OOO!

After brewing that first 8 oz cup, I add my creamer. This allows the second part of the coffee to mix the cream in, no stirring needed. Hello! No spoon to wash= less time cleaning up!

To brew the second phase on a platinum, you must lift the lid and re-close it to reset the brewing cycle. DO NOT change your K-CUP! Now that the grounds sat damp, they will let out more flavor :)


Brew the second cup and voila, a nice, strong cup of coffee. MMMMM.
This method works with any k-CUP that steeps, even apple cider.(although some will be stronger than others, so I only make a 12 oz apple cider, at the MOST)  If you aren't sure, open up an empty k-cup and see what's left behind. Hot chocolate or Chai Latte, for example will be empty, because they are instant. Don't try this method with those, they WILL get really watery.

Please let me know if you've learned any fun tricks with your Keurig! I'd love to hear them :)

Wednesday, August 10, 2011

Getting the Vintage Smell out of Vintage Fabrics

I love nothing more than walking away from a yards sale or thrift shop with a beautiful piece of vintage fabric in my hands. As the saying goes "they just don't make 'em like they used to"!

And anyone who is familiar my work knows I really like to use as much vintage fabric as I can in my bags. It gives me the ability to create items that are a little more unique. A little harder for someone to go to the next hand made shop to find. I love creating combinations of modern and vintage to find that chic, fun look that is just begging for me to discover it!

But  vintage fabrics, can come with a price. A funny smell that comes from years and years of sitting on a shelf, waiting to be discovered :)

Since I have been dealing with this problem for quite a while, I've learned a few tricks to rid that smell as much as possible. After all, who wants someone to notice the smell of their bag before they are able to see how cute it is?!?!
Would you believe I found this fabric as a pair of vintage drapes?? LOVE IT!

First and foremost, when I get home, I wash the fabric with  my favorite home made laundry soap and softener.


 As tempting as this may be to save time and water, I don't recommend skipping the prewash step. The first time I tried this, I went straight to the sink and found my pretty fabrics soaking in a tub of their own filth. Blech.

Next, fill a large sink or tub with enough hot water to cover all of the fabrics you'll be treating.

Someone turned me on to this Febreeze Laundry Odor Eliminator. I found it at Walmart. It was slightly pricey, (I'm dutch, I can't help it!) around $9 a bottle. But it does go a long way. 


 I add one capful of the Fabreeze to my sink which is filled just enough to cover the fabric I'm going to put in it. I then use my hands to mix and squish the fabric around in the hot water, making sure all of the fabric gets fully saturated. This step is actually kinda fun :)
 I let the fabric soak for at least 30 minutes, then transfer it, soaking wet to my washing machine, where I rewash it with my usual laundry products.
 The vinegar as fabric softener is another odor eliminating step. I use it in all of my loads, but I really like to use it with my fabrics. Remember, vinegar smells kind of gross when it goes in, but the smell will be completely gone when the laundry is dry. I promise!
And here is a freshly deodorized load of vintage finds, on my previously deodorized thrift store table cloth :) I can't wait to see what I can make those napkins on the top into....gears turning.....

Thursday, July 28, 2011

DIY Curtain Project

We have a beautiful, solid oak dining room table. It is big, heavy and has 4, yes I said 4, table leaves. These are great when we have a sit down dinner for 16...(read,NEVER) so I inevitably end up storing them. We tried storing them in the basement on shelves, but they took up too much space. We tried standing them upright in our hall closet, but with kids, it was dangerous. I had to find a place to store those monstrous things, so I would not have to look at them ANYMORE :)

So here is what I did, I sacrificed a section of my bedroom closet to make them a home. And also a place to store my American flag, apparently. If I were on the ball, it would be hanging proudly on my front porch, but since I always forget to take it down at dark, I feel disrespectful. So out of respect, it is in my closet. What?!?! Anyways...

Still ugly,huh? And did I mention there is a huge picture window directly in front of this shelf? A window that open to my front yard?  How will I ever hide these things?
On a trip to Walmart it came to me....

Here is how I did it:
I bought a $7 full size sheet in a color I liked. They have about a million to choose from. Just make sure it's a FLAT sheet. But you knew that already, right?
Then you'll need
-a sewing machine (or not, you can also use stitch witchery if you are a sewing machine - phobe)
-a seam ripper
-an iron
-a bar to hang your curtain on (I was able to use a clothes bar from my closet)
I measured the opening to my closet, and cut the sheet to the height, adding about 4 inches for the hem. Also keep your sheet at least twice the width of your opening, or you won't get any ruffle action. (Then it will look like you have a sheet hanging in your closet....)
I folded the bottom over twice to get a little weight at the bottom, as well as a straight hem. And since I was ironing, I stuck some stitch witchery in the hem as I folded  to "glue" my hem in place. It made it much easier to sew such a long straight line later.

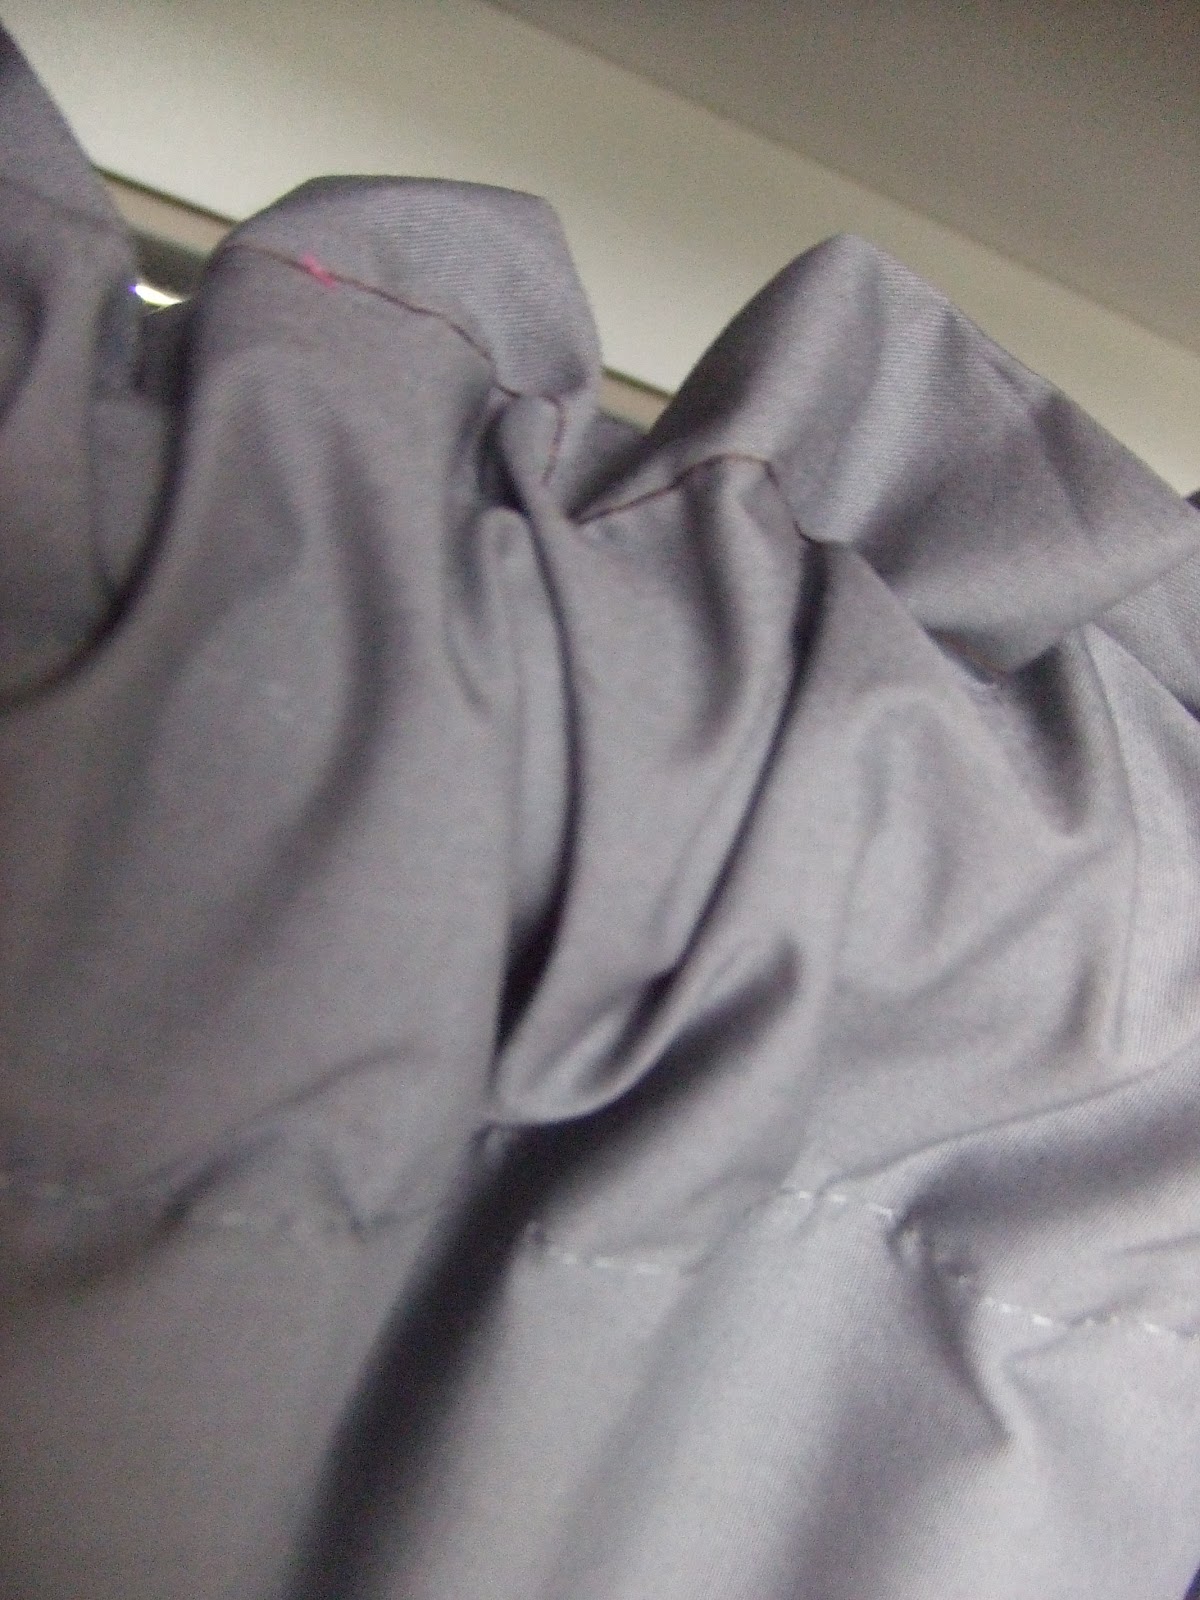
I used the factory stitched top of the sheet as my curtain top. I had to open up the sides with my seam ripper, but then you are left with an open tube.
The factory stitching is gray, and I used brown, because I was in a hurry.  
But hey, it's easy for you  to see where I sewed :)

I stitched about an inch from the top of the tube to give a little extra ruffle.


And now I have a pretty, ruffly curtain to hide my hideous oak monstrosity's! Isn't it cute? These would work anywhere, even on a window. It's a low-sew to no-sew project that takes hardly any time at all.


Sunday, July 24, 2011

Cute Business Card Holder Tutorial

I just found this super cute idea on The Crafty Cupboard! I can't wait to make one for myself...As a matter of fact, it's Sunday afternoon, kids are watching tv...I'm off!

If you are looking for a cute business card holder and have an ounce of craftiness in you, I think this is pretty simple. I think it would also be a cute credit card holder. If not, I'm sure I could make one for you :) Enjoy!
                    http://craftycupboard.blogspot.com/2011/03/how-to-business-card-holder.html