Showing posts with label sewing machine. Show all posts

Thursday, December 26, 2013

Sneak peek inside my new studio

I've been promising a peek into my sunny. new studio since we moved into this house last June. Well....here it is! 
Where I spend 90% of my time, at my favorite sewing machine, Verena <3 br="">We bought an old house, so I'm loving all of the built-ins and charming details, like the beautiful ceiling. A great backdrop for my purses...

On top of my ugly, yet super functional HUMONGOUS filing cabinet, I store all of my hardware in little jars. Right within an arms reach of my work table. I like to scour our local Habitat Restore to find old, wooden crates to store larger things in, like my shipping supplies. They are so much cuter in this crate :) And those hydrangeas? I picked them this fall from my front yard. And they are in a fabulously ugly, green vase that I took from my Grandmas house. I love it!

Another crate holds my ready to ship, leather clutches


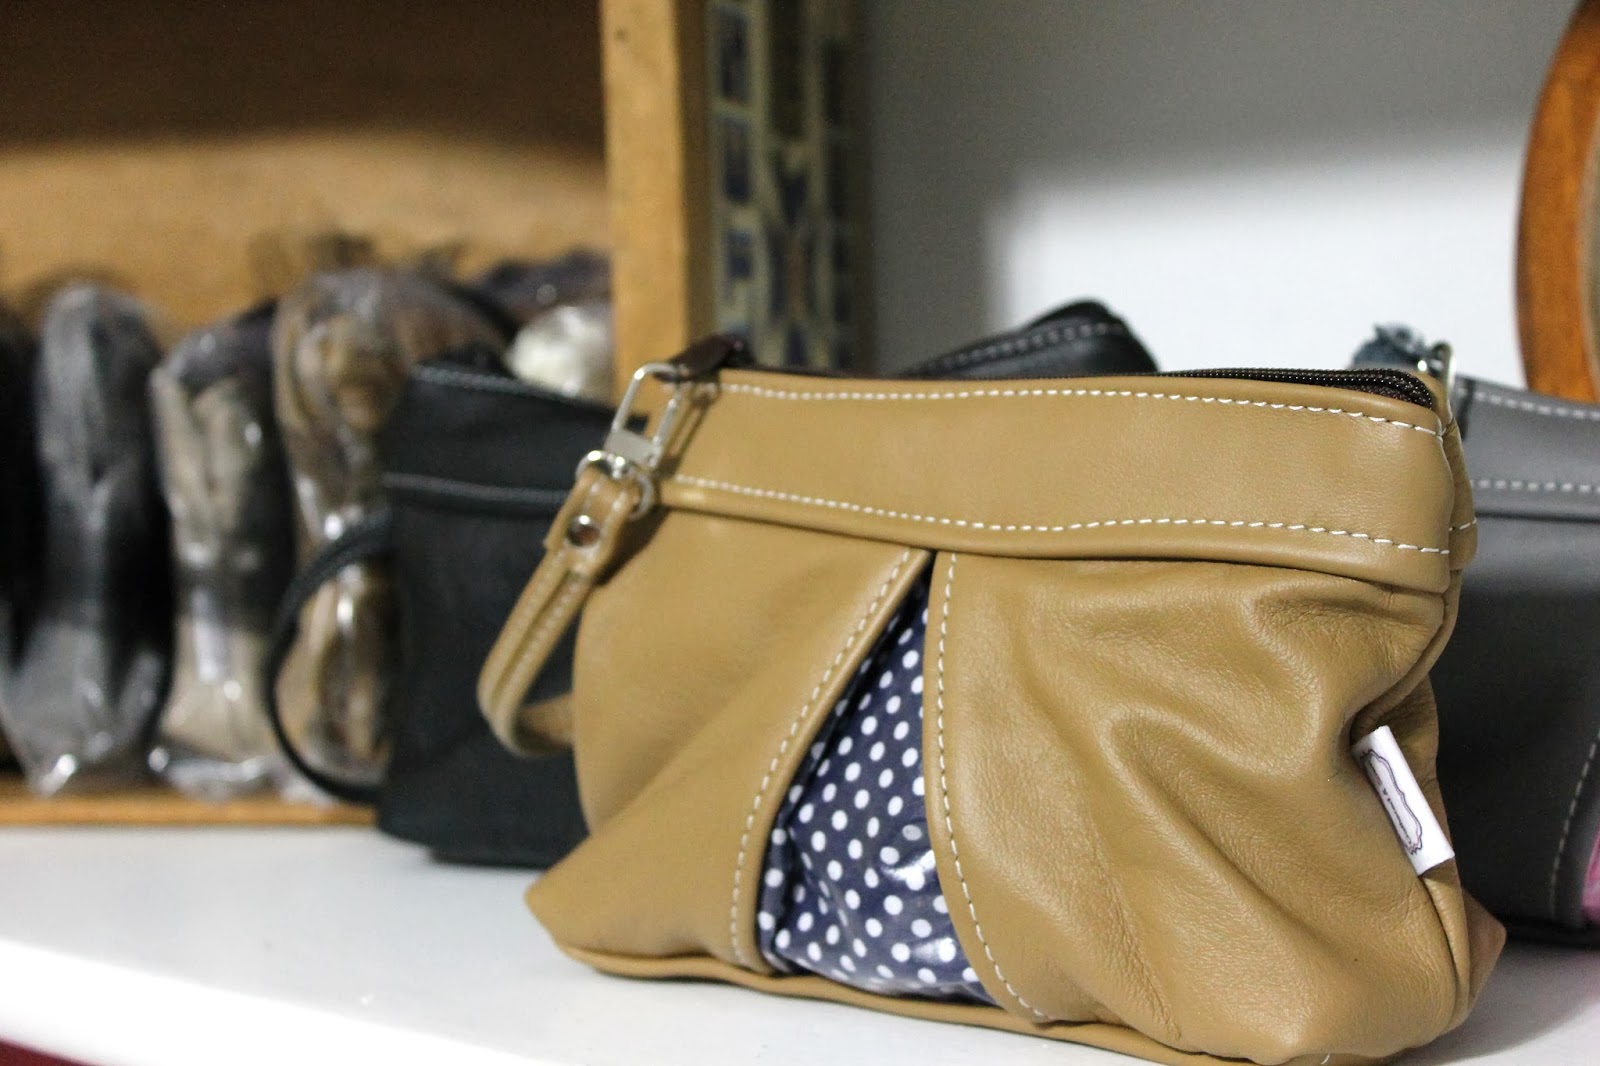
I'm using these built in shelves to display the bags I have on hand. Something I never had, but wonder how I lived without! It's great when my locals want to drop in to see what I have.

My little, tiny computer desk, with the chair my friend Amy made for me in my old studio. The filing cabinet holds all of my orders with magnets, Inside the drawers, I store all of my purse parts. It's not cottage chic, but I can't live without it, so I try to make it work... 

Monday, July 30, 2012

My New, Industrial Sewing Machine!


So last week, without the slightest intention of buying anything, I walked into my favorite local sewing machine shop to get some advice from the resident sewing machine genius Darryl. He was able to answer all my questions, helping me come up with creative solutions to my sewing machines inability to sew through my 45 layers (ok, 8, but it looks like 45 when I'm trying to jam a needle through it!)  of leather.

As I'm getting ready to leave, I say, as a joke, "maybe I just need one of those big honkin' industrial sewing machines!"

Darryl's response "Really? Because I just so happen to have one here, and it's super clean, runs perfectly and is for sale!"

He took me to the VEEEEEERY back corner of the shop, and lo and behold...this beauty!
I instantly fell in love! I was imagining the ease of which this machine (with a switch like my dad's table saw) could burn through my leather bags!

I went home, and without any hesitation from my husband, decided to buy it. Not only did he not hesitate, he and my Dad both encouraged me to get it! I might have nerded out with glee at that point! The price was right, the need was there, (and I had already cleared a space for it in my room,hehe!)

 I went back to the shop this morning, and Darryl went step by step with me, over and over til I got it. Threading the machine, winding the bobbin, putting it in. He was so patient!!


I'm a visual learner, so I took some pics as he told me what to do. See, I'm somewhat smart now and then :)

Seriously, I took a shower before I left, I swear! That look on his face.... Either I stink, or he's bored to tears with me! I might actually being talking to myself here. Don't judge :)

Darrel is such a fount of knowledge. I wonder if that is a blessing to him, or a burden?  Likely after spending an hour with me, he finds it a burden! Lol!
But seriously, I love that I can call him anytime, and he knows EXACTLY how to tell me what I'm doing wrong. GREAT service!
 I'm just counting the hours, until 3:00 when my Dad and the hubster go to pick it up. I'll follow up with pics when I have some!

Does anyone else have a toy that they totally geek out about? Please tell me, I'd love to hear!


Tuesday, April 3, 2012

My Favorite Sewing Tool Right Now

So it's no secret....I like ruffles, pleats and other girly details on ALL of my work. So I also love any tools that will make my life easier when spending so much time on such details.
Enter....the rolled hem foot:

This scnazzy foot has saved me countless hours of ironing, folding, re-ironing etc. 
What it does is roll two teensy tiny folds in your fabric, giving it a finished hem. A finished hem that looks SO MUCH BETTER than anything I could do by hand. I'm able to feed ruffles through at break neck speeds!

I'm not going to lie: There is a learning curve to this foot. You have to figure out just the right way to hold the fabric, but once you figure it out, you will use this foot:

 all. the. time.
Since I discovered this inexpensive tool, even home dec tasks like these don't seem nearly as daunting.
source: DIY design
source: Holly Molly & co
source: Elle apparel

source: sweetwater

Next post, I will be showing you a tutorial for a somewhat simple table runner I made using this nifty tool....

Thursday, February 9, 2012

6 tips I've learned for organizing my work space

When I first started sewing bags a couple of years ago, I was working out of my dining room. I hated having to put everything away at the end of every work day, so I eventually moved down into our storage room. There at least I could leave my ironing board up, my sewing machine out, and my projects half finished! Then a little more than a year ago, my husband upgraded me to my current space, our former excersize room. Now that it is finished, I feel less embarrassed to share with you a couple of tricks I've learned over this time, on how to organize my space, supplies and projects...


1. One of my problems was always forgetting to turn things off. I can't tell you how many times I've left my iron on, or walked away with my sewing machine lights still burning. So I configured my space and cords (of which there are many!) so that they could all be plugged into one surge protector. I checked with my electrician friend, and he assured me that this a perfectly safe:)  This way, when I start to work, or finish work, I just flip one switch, and everything turns off! There is also another reason I did this...last summer, while I was working, our house got struck by lightening. Fortunately all of my equipment was fine, but I don't want to take any risks. Now I have only ONE plug to unplug durning a bad storm. Ahhh, easy peace of mind :)

Now I have only ONE plug to unplug durning a bad storm. Ahhh, easy peace of mind :)


I have yet to figure out a chic way to hide all of my cords...any ideas?!?!

2. I also have all of my supplies stored in this hideous, bright red, professional tool box.
I camoflauged it by hiding it under my ironing table, but it is still an eye sore.
My soulution? A shower curtain, attached with a tension rod.

I also made myself a
floor mat cover out of the same shower curtain to
cover my ugly, industrial rubber floor mat.
Much cuter, I must say!


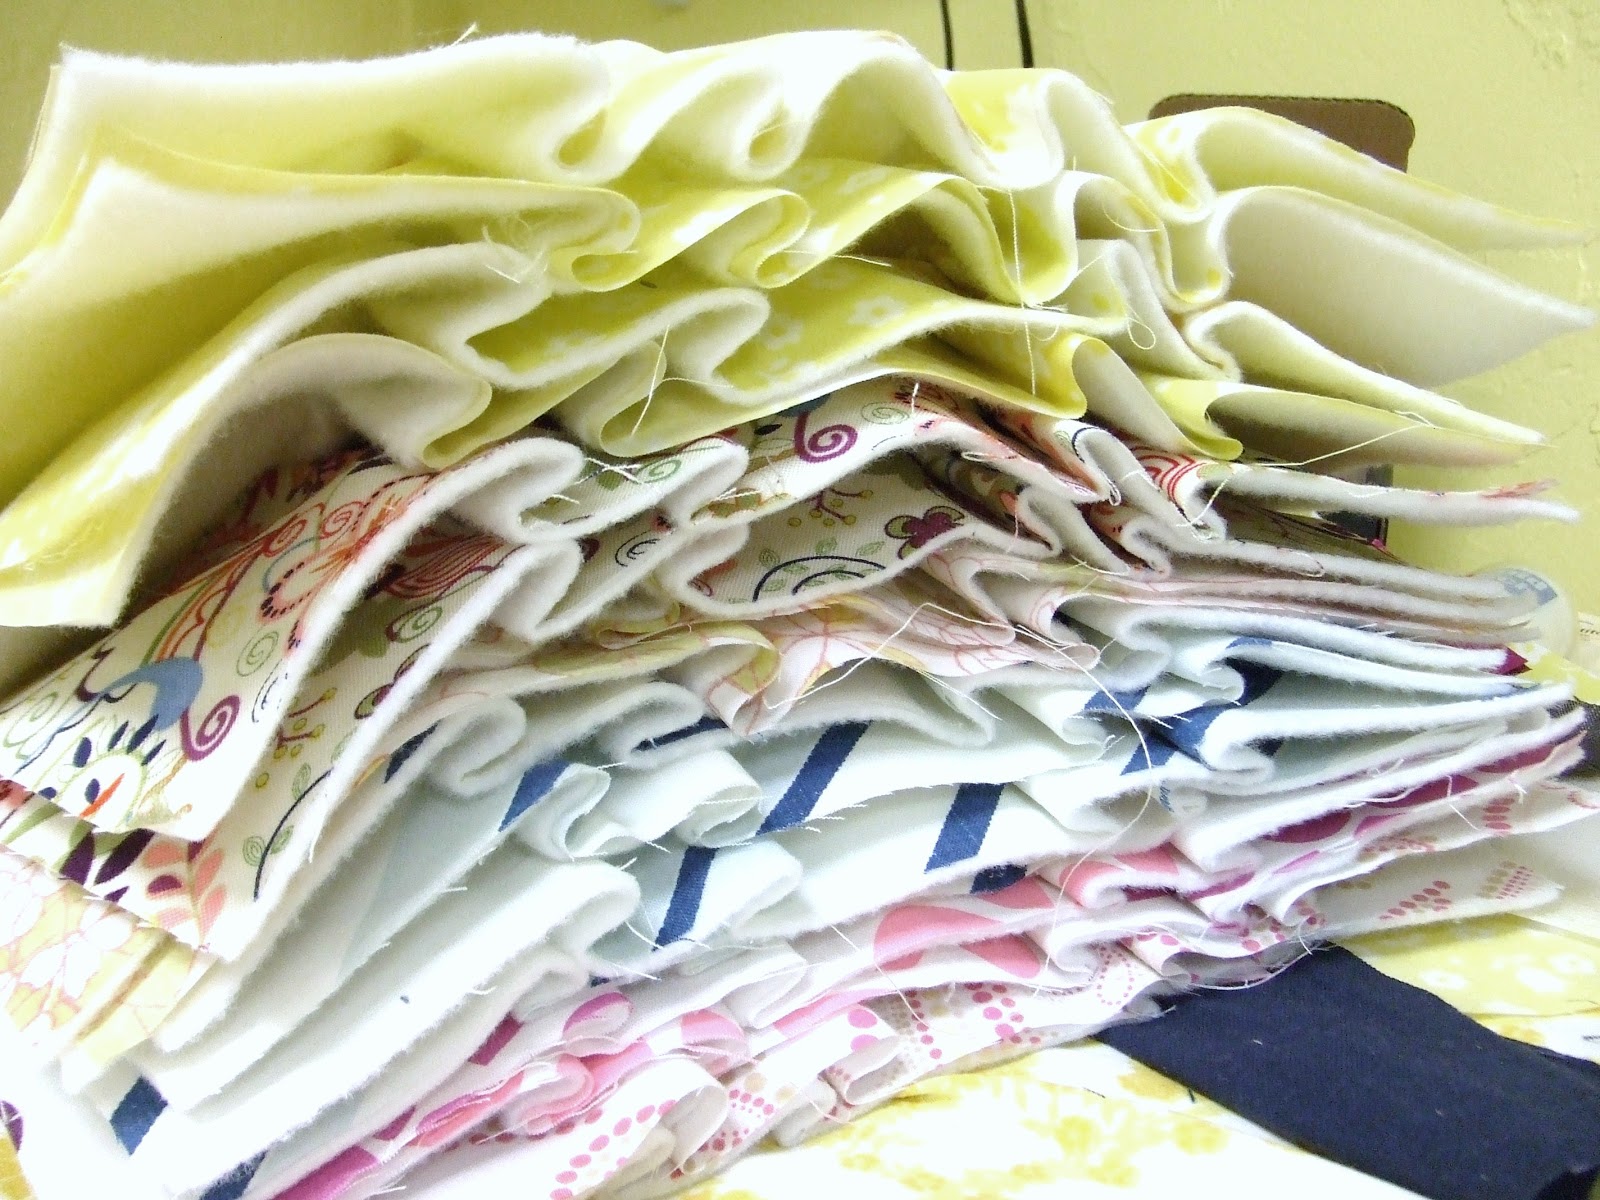
3. I got a great idea for storing my piles and piles of fabric. I made little mini fabric bolts out of foam core board. It is like a mini fabric store on my cutting table. I keep as many of my prints and textures as I can on there, with an extra cabinet of solids or pieces which are way too big for the bolts in my closet.  Here is a link to the tutorial where I found the idea...thanks!


4. After trying a tackle box for my small parts, I came up with the economical and cute idea of using different size mason jars. I love the way this looks!


5. I never had enough room on my ironing board for all of my pieces, so I had the idea of transforming a tabletop into my ironing board. I layered a baby crib mattress, bath towel, and Insulated interfacing. Then to make it look better, I topped it all off with a really cute vintage sheet, cut down to size. This is the table I work at 90% of the time, and it works great for me!  
                     

              *disclaimer- The steam on your iron WILL RUIN the table top,even with all of the layers. So PLEASE don't try this on a
table you plan to turn back into a table. Capiche??? Good :)

6. Pegboard. Who knew?? I took a scrap of my Dad's old peg board, painted it blue and Voila, I have a place to keep my tools within easy reach, while adding a punch of color to my room at the same time! This would be a great addition to any craft room, and can be customized a gazillion different ways with different hooks, shelves, colors etc. Have fun with it!

So there it is, a few lessons I've learned from my mistakes! If my studio were tidy-er, I would share some more, but I guess that will have to wait until another day!


 I hope someone else can take some of these tips and find their own creative way to spruce up their work space. I would love to see pictures ;)

Gussy Sews Inspiration Workshop!

Thursday, July 28, 2011

DIY Curtain Project

We have a beautiful, solid oak dining room table. It is big, heavy and has 4, yes I said 4, table leaves. These are great when we have a sit down dinner for 16...(read,NEVER) so I inevitably end up storing them. We tried storing them in the basement on shelves, but they took up too much space. We tried standing them upright in our hall closet, but with kids, it was dangerous. I had to find a place to store those monstrous things, so I would not have to look at them ANYMORE :)

So here is what I did, I sacrificed a section of my bedroom closet to make them a home. And also a place to store my American flag, apparently. If I were on the ball, it would be hanging proudly on my front porch, but since I always forget to take it down at dark, I feel disrespectful. So out of respect, it is in my closet. What?!?! Anyways...

Still ugly,huh? And did I mention there is a huge picture window directly in front of this shelf? A window that open to my front yard?  How will I ever hide these things?
On a trip to Walmart it came to me....

Here is how I did it:
I bought a $7 full size sheet in a color I liked. They have about a million to choose from. Just make sure it's a FLAT sheet. But you knew that already, right?
Then you'll need
-a sewing machine (or not, you can also use stitch witchery if you are a sewing machine - phobe)
-a seam ripper
-an iron
-a bar to hang your curtain on (I was able to use a clothes bar from my closet)
I measured the opening to my closet, and cut the sheet to the height, adding about 4 inches for the hem. Also keep your sheet at least twice the width of your opening, or you won't get any ruffle action. (Then it will look like you have a sheet hanging in your closet....)
I folded the bottom over twice to get a little weight at the bottom, as well as a straight hem. And since I was ironing, I stuck some stitch witchery in the hem as I folded  to "glue" my hem in place. It made it much easier to sew such a long straight line later.

I used the factory stitched top of the sheet as my curtain top. I had to open up the sides with my seam ripper, but then you are left with an open tube.
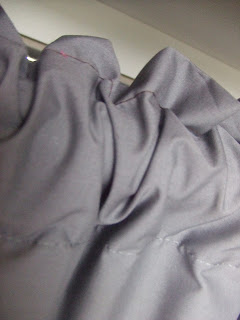
The factory stitching is gray, and I used brown, because I was in a hurry.  
But hey, it's easy for you  to see where I sewed :)

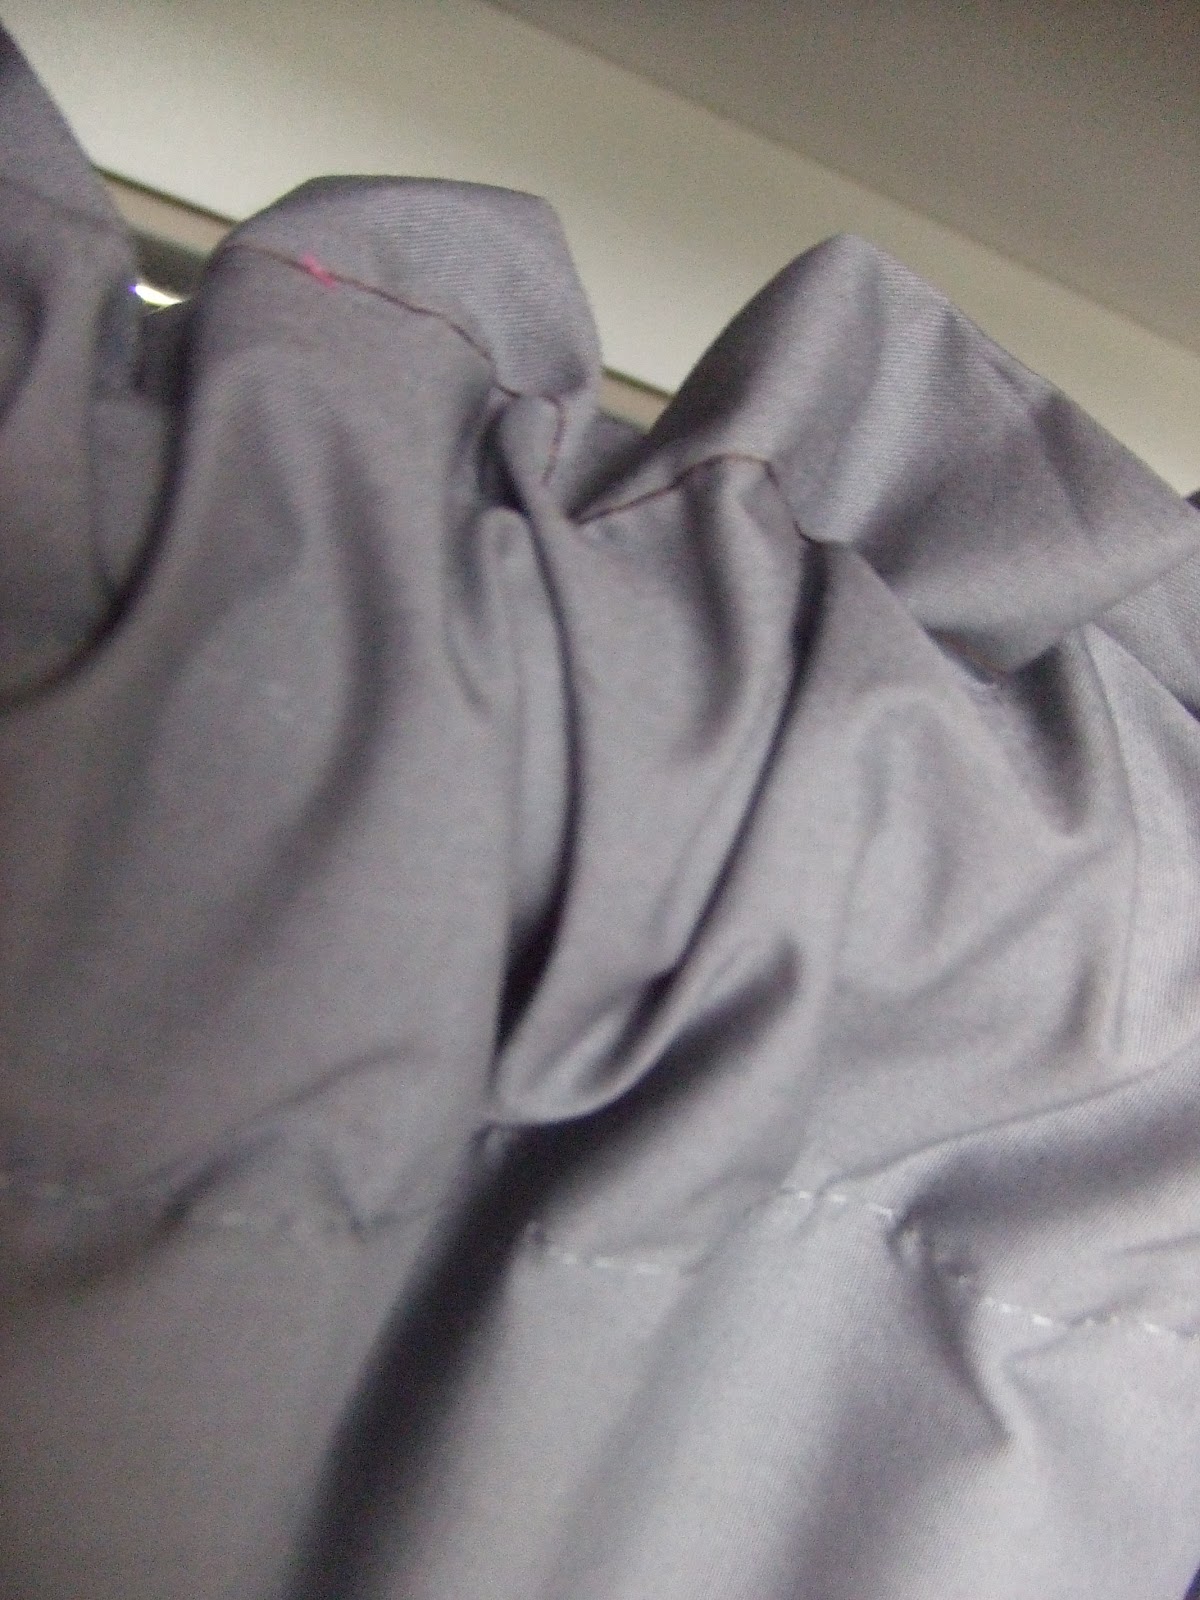
I stitched about an inch from the top of the tube to give a little extra ruffle.


And now I have a pretty, ruffly curtain to hide my hideous oak monstrosity's! Isn't it cute? These would work anywhere, even on a window. It's a low-sew to no-sew project that takes hardly any time at all.


Tuesday, June 28, 2011

Easiest Placemat Tutorial EVER!

So I've noticed that my table is always getting scratched from the various "stuff" that makes its home on it. So the solution I came up with was to go downstairs and make a quick placemat.


What you will need:
-piece of fabric
-scissors or (better yet), rotary cutter and mat
- sewing machine on a tight zigzag stitch (or far easier!) a Serger

First determine the size that you would like your placemat(s). Cut each piece to the size, adding about a 1/4 inch to each side for finishing.


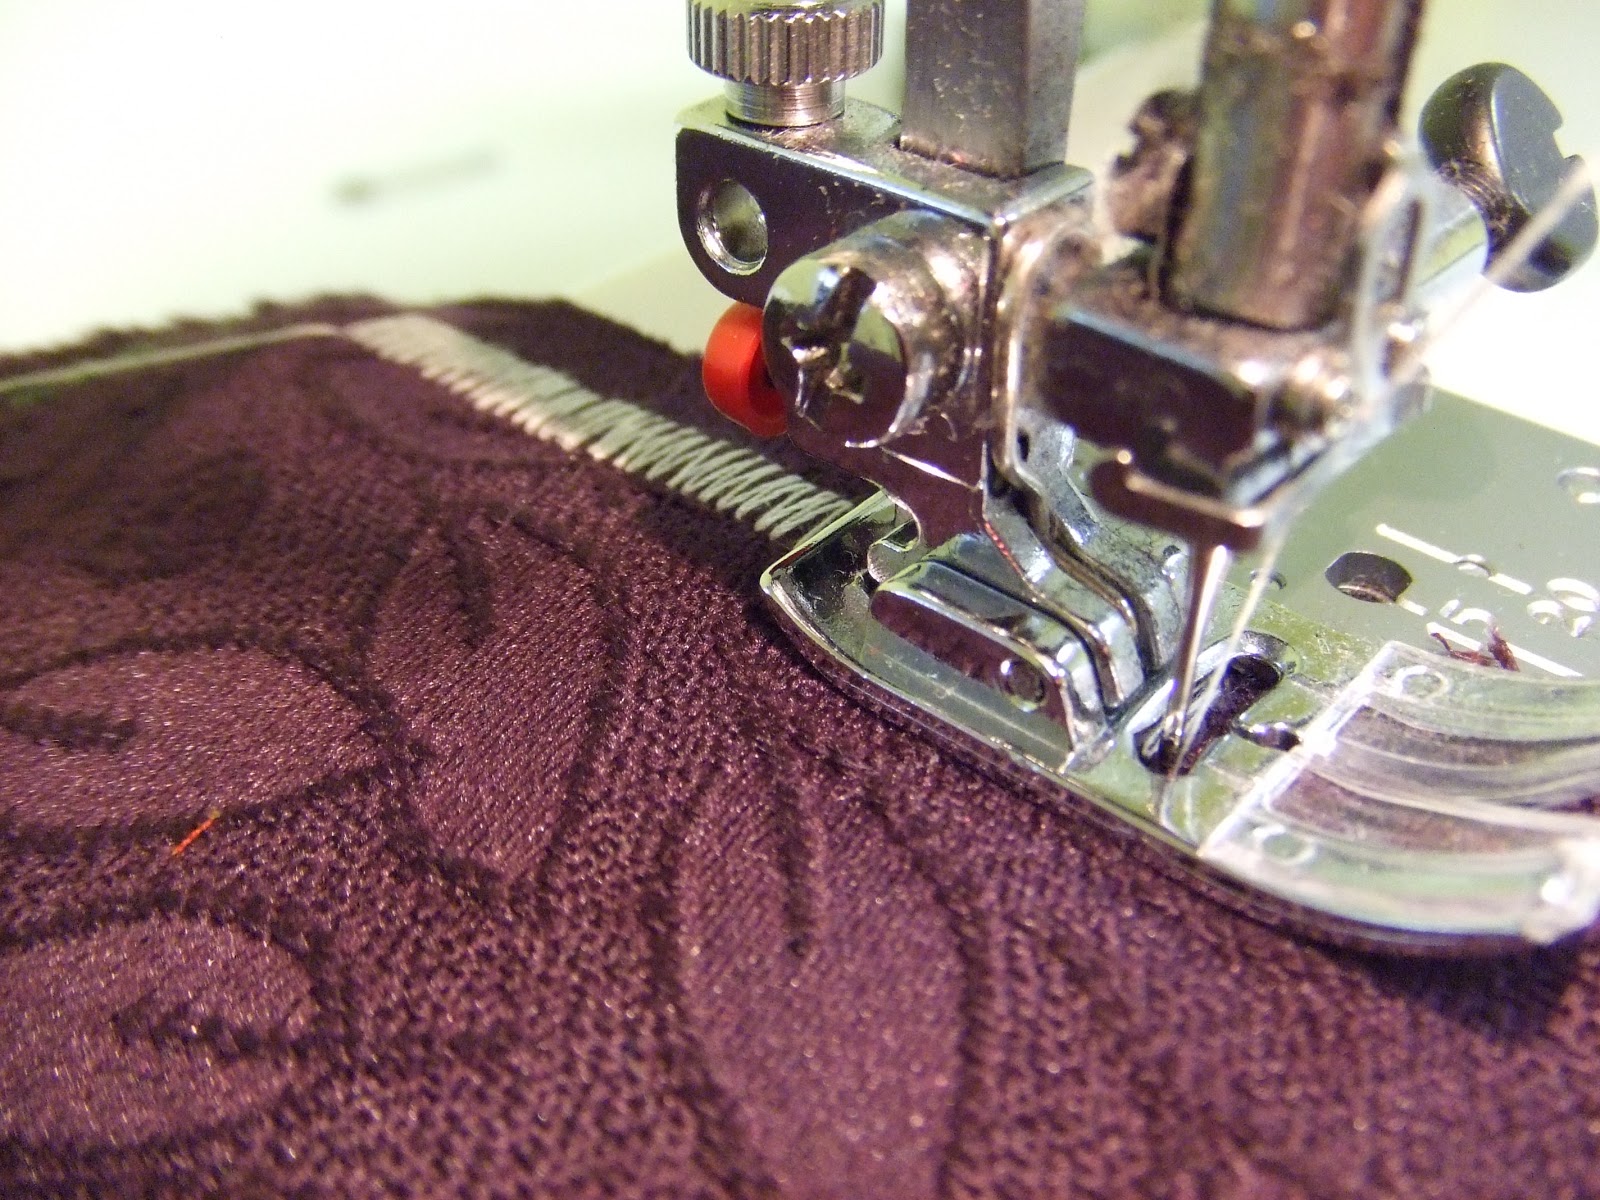
On your sewing machine, sew along all of the edges with a tight, wide zigzag stitch, backstitching at the corners.


Then, trim super, duper close to your stich on the outside, so your stich is on the edge of the placemat


Or if you are lucky like me, simply run it through your serger to get it all done in one, quick step :) 


Voila, you are done! So easy, you could be super ambitious and make yourself some fancy, matching napkins :)