1. One of my problems was always forgetting to turn things off. I can't tell you how many times I've left my iron on, or walked away with my sewing machine lights still burning. So I configured my space and cords (of which there are many!) so that they could all be plugged into one surge protector. I checked with my electrician friend, and he assured me that this a perfectly safe:) This way, when I start to work, or finish work, I just flip one switch, and everything turns off! There is also another reason I did this...last summer, while I was working, our house got struck by lightening. Fortunately all of my equipment was fine, but I don't want to take any risks. Now I have only ONE plug to unplug durning a bad storm. Ahhh, easy peace of mind :)
 |
| Now I have only ONE plug to unplug durning a bad storm. Ahhh, easy peace of mind :) |
 |
| I have yet to figure out a chic way to hide all of my cords...any ideas?!?! |
2. I also have all of my supplies stored in this hideous, bright red, professional tool box.
I camoflauged it by hiding it under my ironing table, but it is still an eye sore.

My soulution? A shower curtain, attached with a tension rod.
 |
I also made myself a
floor mat cover out of the same shower curtain to
cover my ugly, industrial rubber floor mat.
Much cuter, I must say!
|
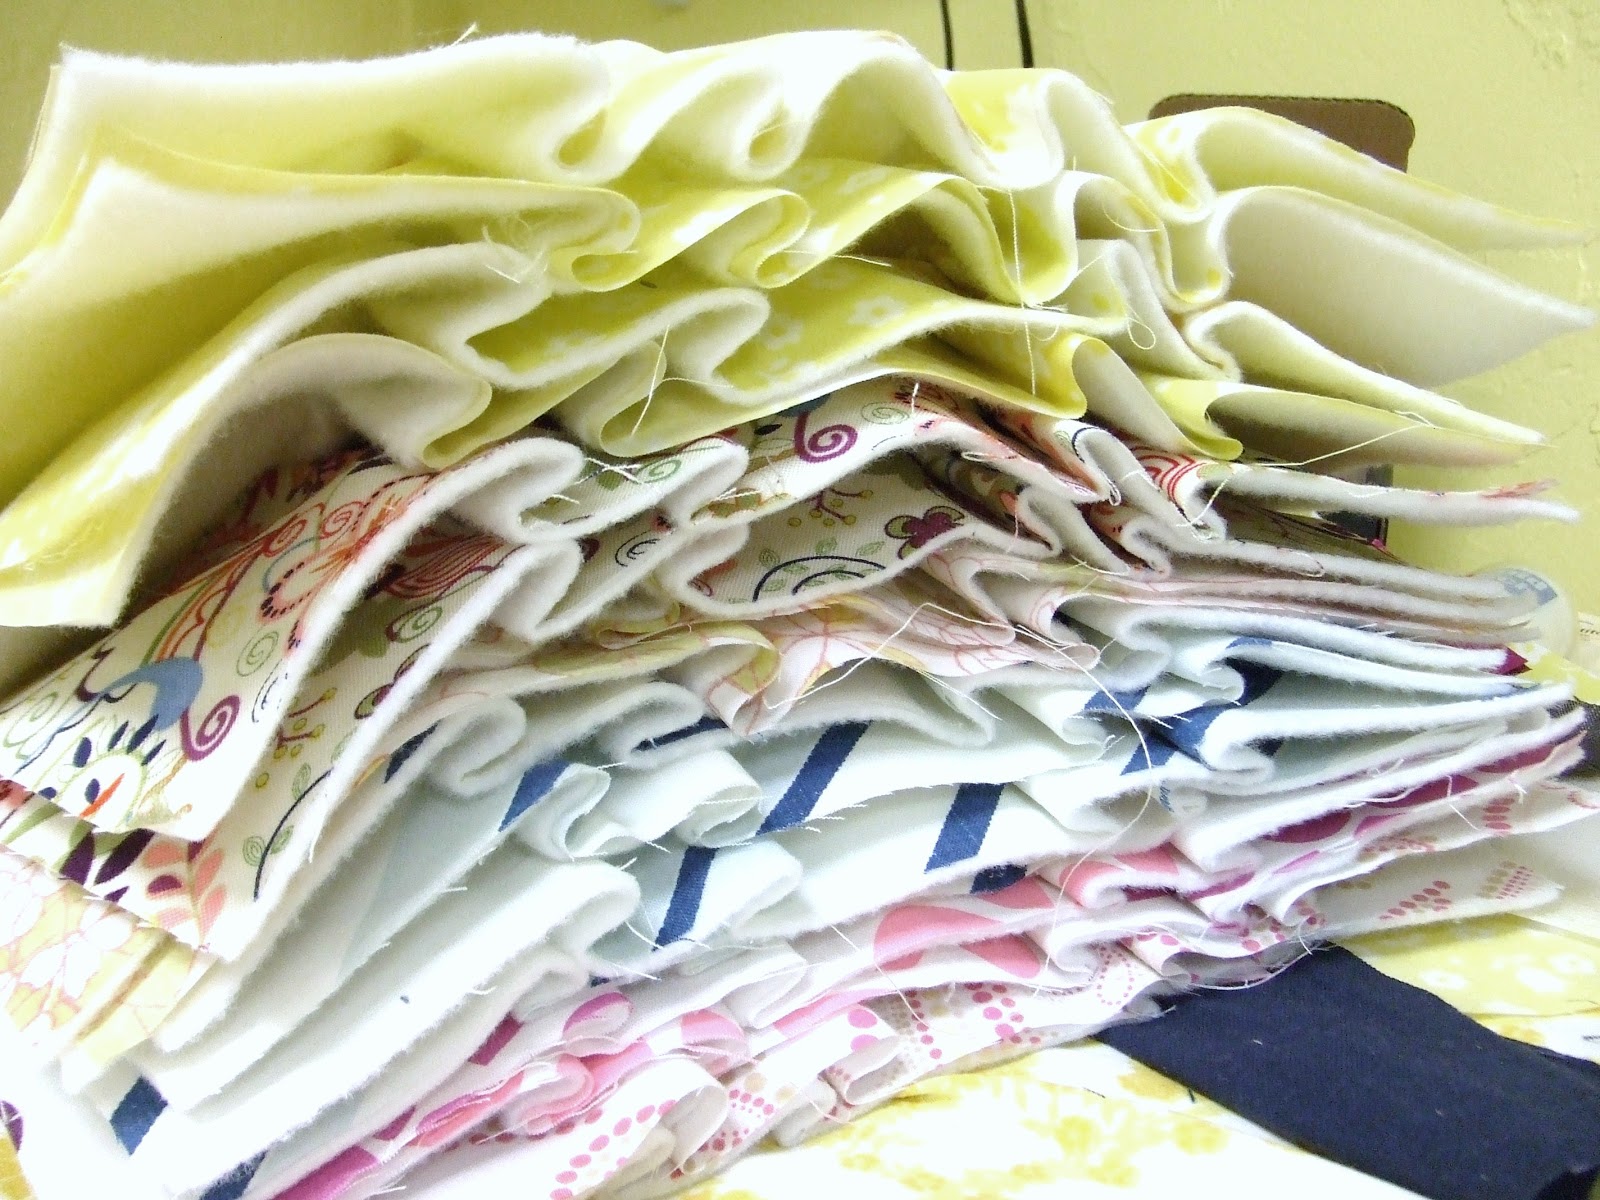
3. I got a great idea for storing my piles and piles of fabric. I made little mini fabric bolts out of foam core board. It is like a mini fabric store on my cutting table. I keep as many of my prints and textures as I can on there, with an extra cabinet of solids or pieces which are way too big for the bolts in my closet. Here is a link to the tutorial where I found the idea...thanks!


4. After trying a tackle box for my small parts, I came up with the economical and cute idea of using different size mason jars. I love the way this looks!


5. I never had enough room on my ironing board for all of my pieces, so I had the idea of transforming a tabletop into my ironing board. I layered a baby crib mattress, bath towel, and Insulated interfacing. Then to make it look better, I topped it all off with a really cute vintage sheet, cut down to size. This is the table I work at 90% of the time, and it works great for me!


*disclaimer- The steam on your iron WILL RUIN the table top,even with all of the layers. So PLEASE don't try this on a
table you plan to turn back into a table. Capiche??? Good :)
6. Pegboard. Who knew?? I took a scrap of my Dad's old peg board, painted it blue and Voila, I have a place to keep my tools within easy reach, while adding a punch of color to my room at the same time! This would be a great addition to any craft room, and can be customized a gazillion different ways with different hooks, shelves, colors etc. Have fun with it!

So there it is, a few lessons I've learned from my mistakes! If my studio were tidy-er, I would share some more, but I guess that will have to wait until another day!
I hope someone else can take some of these tips and find their own creative way to spruce up their work space. I would love to see pictures ;)