Showing posts with label sewing. Show all posts

Tuesday, April 3, 2012

My Favorite Sewing Tool Right Now

So it's no secret....I like ruffles, pleats and other girly details on ALL of my work. So I also love any tools that will make my life easier when spending so much time on such details.
Enter....the rolled hem foot:

This scnazzy foot has saved me countless hours of ironing, folding, re-ironing etc. 
What it does is roll two teensy tiny folds in your fabric, giving it a finished hem. A finished hem that looks SO MUCH BETTER than anything I could do by hand. I'm able to feed ruffles through at break neck speeds!

I'm not going to lie: There is a learning curve to this foot. You have to figure out just the right way to hold the fabric, but once you figure it out, you will use this foot:

 all. the. time.
Since I discovered this inexpensive tool, even home dec tasks like these don't seem nearly as daunting.
source: DIY design
source: Holly Molly & co
source: Elle apparel

source: sweetwater

Next post, I will be showing you a tutorial for a somewhat simple table runner I made using this nifty tool....

Friday, March 2, 2012

How I make my own patterns

Earlier this week I blogged about my inspiration, but today I want to share a secret about my designs. My previously ultra, topsecret, super important design book! If any professional designers see this, they will likely scoff at my chicken scratch, but this process WORKS for me. You'll be able to see by looking at my book, that even by showing it to the world, it would be very hard to make sense of my notes, so in turn, really hard to steal my ideas :)

My design book. Sorry if you were expecting something fancy. 
But I am just not a fancy girl!
Simple is the way I roll.

So after I find inspiration, lose a little sleep, the next step is to try to create it. First, I kind of scribble what the bag should look like in the end, so I can remember how to put it together again. Then I guess the approximate end size, and guess how big I should cut my pieces. This often gets me in trouble! But you've got to start somewhere :) Once I get a size I like, I write it in my notebook. Sometimes my kids will help decorate my book when I'm not looking. Not sure yet if I appreciate that or not :/

A couple of my "patterns"
Along with my patterns, you will see some scribbles from my budding sidekick, Audrey :)

Then there are the ideas I get that I really want to get to, but don't have the time yet. So in comes my sticky note system. These are usually ideas that pop into my head quicker than I can get to my notebook. So I scribble them out, and eventually, they find a home in The Book. If they are lucky, they become actual bags when a new season rolls around!


Can you guess what this became?

That chicken scratch turns into something like this :) Not too shabby,eh?


...and this, eventually became...


THIS! One idea, a piece of paper, some fabric and some time :)


Thursday, February 9, 2012

6 tips I've learned for organizing my work space

When I first started sewing bags a couple of years ago, I was working out of my dining room. I hated having to put everything away at the end of every work day, so I eventually moved down into our storage room. There at least I could leave my ironing board up, my sewing machine out, and my projects half finished! Then a little more than a year ago, my husband upgraded me to my current space, our former excersize room. Now that it is finished, I feel less embarrassed to share with you a couple of tricks I've learned over this time, on how to organize my space, supplies and projects...


1. One of my problems was always forgetting to turn things off. I can't tell you how many times I've left my iron on, or walked away with my sewing machine lights still burning. So I configured my space and cords (of which there are many!) so that they could all be plugged into one surge protector. I checked with my electrician friend, and he assured me that this a perfectly safe:)  This way, when I start to work, or finish work, I just flip one switch, and everything turns off! There is also another reason I did this...last summer, while I was working, our house got struck by lightening. Fortunately all of my equipment was fine, but I don't want to take any risks. Now I have only ONE plug to unplug durning a bad storm. Ahhh, easy peace of mind :)

Now I have only ONE plug to unplug durning a bad storm. Ahhh, easy peace of mind :)


I have yet to figure out a chic way to hide all of my cords...any ideas?!?!

2. I also have all of my supplies stored in this hideous, bright red, professional tool box.
I camoflauged it by hiding it under my ironing table, but it is still an eye sore.
My soulution? A shower curtain, attached with a tension rod.

I also made myself a
floor mat cover out of the same shower curtain to
cover my ugly, industrial rubber floor mat.
Much cuter, I must say!


3. I got a great idea for storing my piles and piles of fabric. I made little mini fabric bolts out of foam core board. It is like a mini fabric store on my cutting table. I keep as many of my prints and textures as I can on there, with an extra cabinet of solids or pieces which are way too big for the bolts in my closet.  Here is a link to the tutorial where I found the idea...thanks!


4. After trying a tackle box for my small parts, I came up with the economical and cute idea of using different size mason jars. I love the way this looks!


5. I never had enough room on my ironing board for all of my pieces, so I had the idea of transforming a tabletop into my ironing board. I layered a baby crib mattress, bath towel, and Insulated interfacing. Then to make it look better, I topped it all off with a really cute vintage sheet, cut down to size. This is the table I work at 90% of the time, and it works great for me!  
                     

              *disclaimer- The steam on your iron WILL RUIN the table top,even with all of the layers. So PLEASE don't try this on a
table you plan to turn back into a table. Capiche??? Good :)

6. Pegboard. Who knew?? I took a scrap of my Dad's old peg board, painted it blue and Voila, I have a place to keep my tools within easy reach, while adding a punch of color to my room at the same time! This would be a great addition to any craft room, and can be customized a gazillion different ways with different hooks, shelves, colors etc. Have fun with it!

So there it is, a few lessons I've learned from my mistakes! If my studio were tidy-er, I would share some more, but I guess that will have to wait until another day!


 I hope someone else can take some of these tips and find their own creative way to spruce up their work space. I would love to see pictures ;)

Gussy Sews Inspiration Workshop!

Thursday, October 27, 2011

Meet My Boss...ME :)

Now that we've gotten back into the swing of another school year, I am looking forward to FINALLY getting back into a regular work schedule . Work schedule??  Many ask why I have one when I work from home. Don't I sit around all day eating bon-bons and watching soap operas??? (ok, I do, but don't tell anyone!)
I think my "friends" in Salem would agree with my bon-Bon choice. He-he!
[ source]


Finding the motivation to work for yourself can be difficult at times, but here are a  few things that work for me:


Work hard, but also remember your REAL job, your family.
Most people think that since I work from home, I have a lot of "free" time.  I have had to learn to tell people that I am working. I have set myself regular work hours, and I try to schedule appointments, and even fun things around my work schedule. In that schedule, I allow myself one hour in the morning, after my daughters are off to school to get my house in order. (I hate coming up after working all day to a crazy, messy house!) I usually work until my kids get home. I also try really hard to adhere to "off" hours. When my whole family is home, I limit my computer time, my sewing time, even my phone time. I try to be as available to my family as I can. This allows me a balance of being Gathered and Sown by day, Mom and wife by night.


This, doesn't become...

...this, without a little discipline.


Acknowledge that your business is your job.
When you work from home, it is very easy to get sidetracked. I get those tempting "wanna go shopping" or "come on, you can work later calls" from well meaning friends. I also tend to get recognized as "that girl who is always home" who gets frequent calls  babysit/drive carpool/volunteer at EVERYTHING.  You have to learn to tell people that you are working. Then they naturally begin to realize that you are not sitting around eating bon bons and watching soaps all day long :)  


I have learned that while I want to be everywhere for everyone, if I don't work, the work doesn't get done.  Which brings me to point two...


Set your schedule
Such a cute way to stay on top of your schedule!
[source: http://jengrantmorris.blogspot.com]
I love what I do but I don't want to have my business be my entire life! I know when my standing commitments are, so I made myself a work schedule that is consistent from week to week. I know that I work best when I am home alone, so weekday mornings, when Ryan is at work, and the girls are at school, I WORK, WORK, WORK!  I am terribly unproductive on weekends, so I count those as my days off. If I so happen to feel like getting some work done while the family is busy, it turns out to be bonus time, which is always low pressure and relaxing.


Divide your time wisely
Over the last 4 months or so, I have realized the huge potential of marketing my business online. What I didn't expect was the insane amount of HOURS I would have to spend in front of my computer. That could be a problem, since my whole business is based on the bags that I create! I have learned to schedule a period of time to do my computer work. When that time is up, I have to turn it off until another scheduled time. That means I have to exercise an insane amount of self control. It is so tempting to just "check" my email or my blog stats... what I intend to be a minute will ALWAYS turn into 15 or 20. I've also started a list things I want to look up. That way, I can factor the web surfing in my computer time, and not allow it to take over my production time.
Here is the computer where I am sitting right now,
typing this post.
 I wish I were in the picture, so it could be like one of those
super cool infinity mirrors :D


Remember to LOVE what you do
When you are your own boss, if you don't feel passionate about what you are doing, it will be evident in your work. So let yourself have some fun! Take a few hours off to make a cool craft for your work space. Have a good friend over to chat while you  while you work. Take an afternoon to check out the competition and get inspired. Whatever it takes to keep you sharp, focused and in love with your job.  After all, isn't that what makes us "self employed geniuses " go to work each and every day?
Pinned Image
[source: work is not a job via ashappyaskings]

Saturday, August 6, 2011

Someone liked what I had to say :) I feel so smart.

I'm an Organizing Junkie


Guess who was seen as being smart enough to be featured on an organizing blog???  Me! I can't wait to share this with the hubs. You see, he is the ultra organized, type A personality, so my lack of organization DRIVES HIM BONKERS! But I do try REALLY HARD to keep my work space serene and clutter free, so it makes me smile to be known in blog land as being in the elite "organized" group :)


Thanks in advance for checking out her post!

Thursday, July 28, 2011

DIY Curtain Project

We have a beautiful, solid oak dining room table. It is big, heavy and has 4, yes I said 4, table leaves. These are great when we have a sit down dinner for 16...(read,NEVER) so I inevitably end up storing them. We tried storing them in the basement on shelves, but they took up too much space. We tried standing them upright in our hall closet, but with kids, it was dangerous. I had to find a place to store those monstrous things, so I would not have to look at them ANYMORE :)

So here is what I did, I sacrificed a section of my bedroom closet to make them a home. And also a place to store my American flag, apparently. If I were on the ball, it would be hanging proudly on my front porch, but since I always forget to take it down at dark, I feel disrespectful. So out of respect, it is in my closet. What?!?! Anyways...

Still ugly,huh? And did I mention there is a huge picture window directly in front of this shelf? A window that open to my front yard?  How will I ever hide these things?
On a trip to Walmart it came to me....

Here is how I did it:
I bought a $7 full size sheet in a color I liked. They have about a million to choose from. Just make sure it's a FLAT sheet. But you knew that already, right?
Then you'll need
-a sewing machine (or not, you can also use stitch witchery if you are a sewing machine - phobe)
-a seam ripper
-an iron
-a bar to hang your curtain on (I was able to use a clothes bar from my closet)
I measured the opening to my closet, and cut the sheet to the height, adding about 4 inches for the hem. Also keep your sheet at least twice the width of your opening, or you won't get any ruffle action. (Then it will look like you have a sheet hanging in your closet....)
I folded the bottom over twice to get a little weight at the bottom, as well as a straight hem. And since I was ironing, I stuck some stitch witchery in the hem as I folded  to "glue" my hem in place. It made it much easier to sew such a long straight line later.

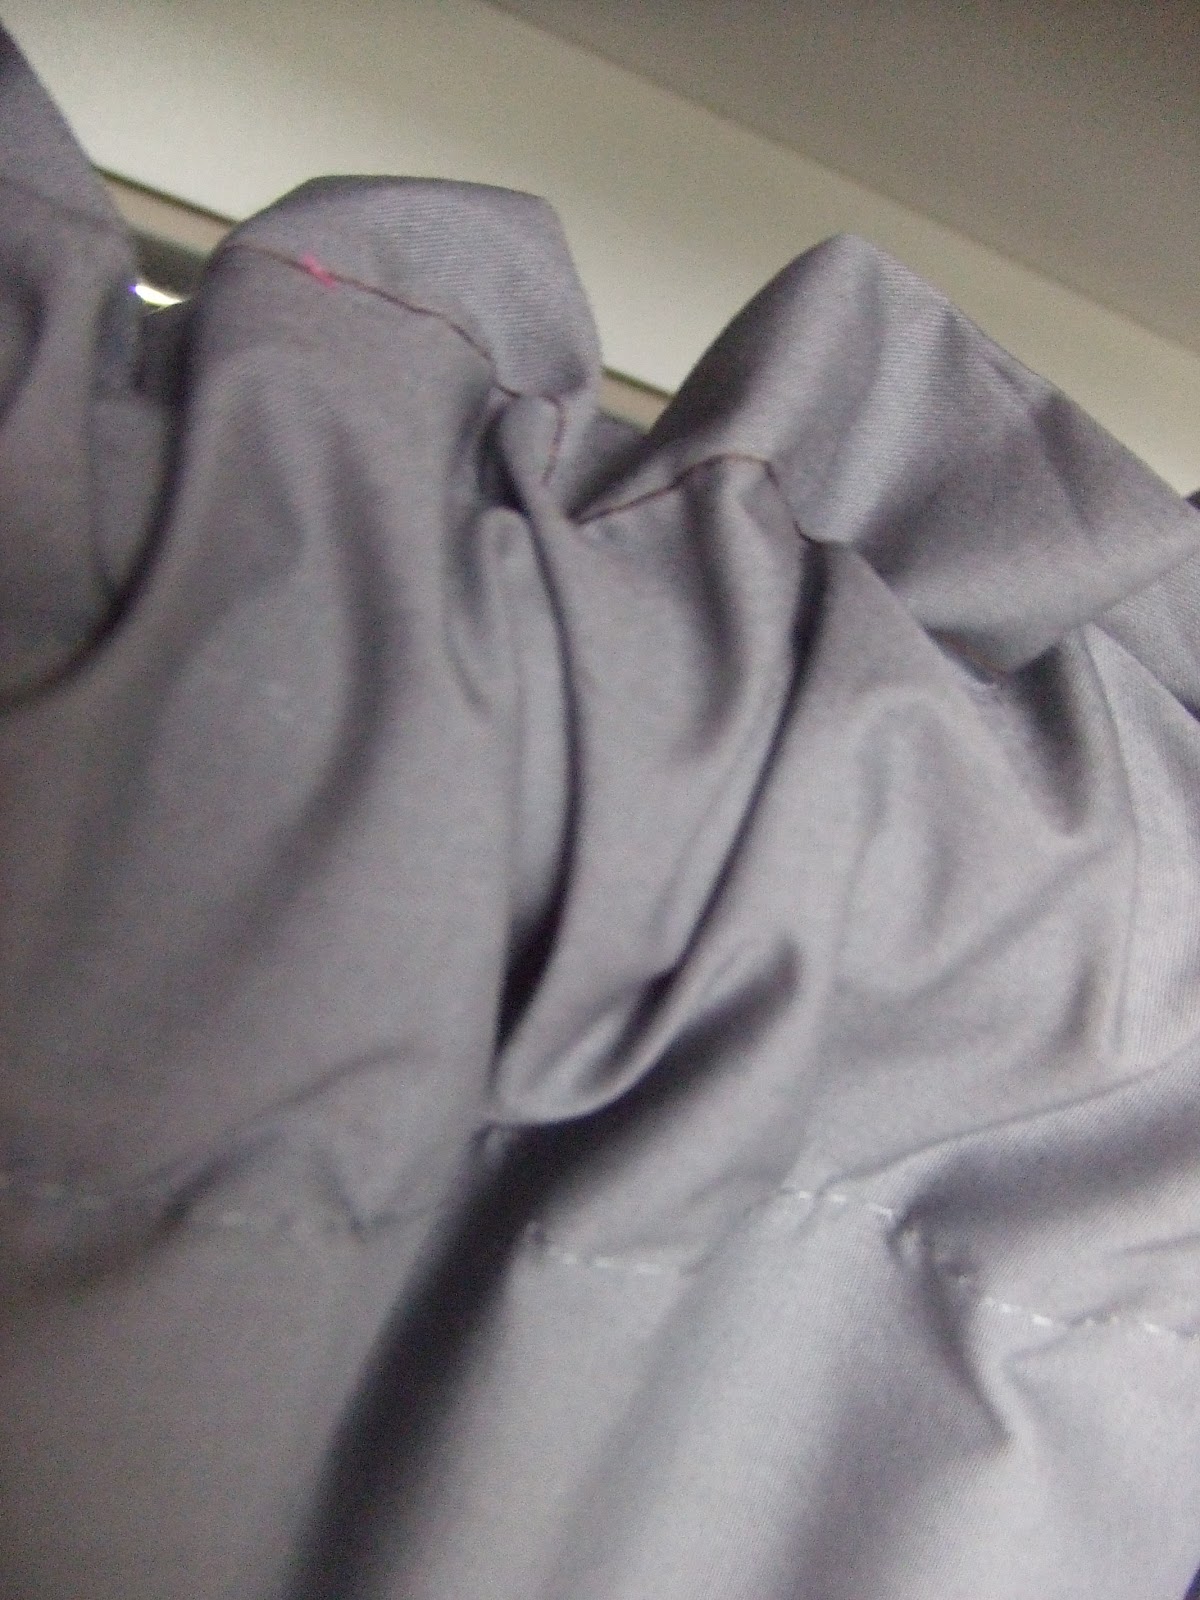
I used the factory stitched top of the sheet as my curtain top. I had to open up the sides with my seam ripper, but then you are left with an open tube.
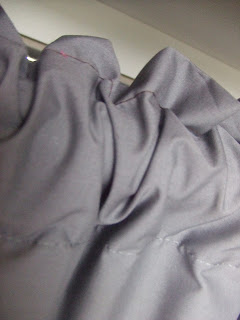
The factory stitching is gray, and I used brown, because I was in a hurry.  
But hey, it's easy for you  to see where I sewed :)

I stitched about an inch from the top of the tube to give a little extra ruffle.


And now I have a pretty, ruffly curtain to hide my hideous oak monstrosity's! Isn't it cute? These would work anywhere, even on a window. It's a low-sew to no-sew project that takes hardly any time at all.


Wednesday, July 20, 2011

Crawling my way out from under 12 purses

So it is summer, I have two kids home all the time and I still have to work to earn money. So what does this all mean? I decide to make 12 purses, which on a normal day is easy-peasy. But when all of my attention can't be focused on my work, I have found that these summer days are not very productive! So I am crawling along at a snails pace, anxious to see these finished! Basically, I'm writing this to show MYSELF that I have, in fact, made some progress :)
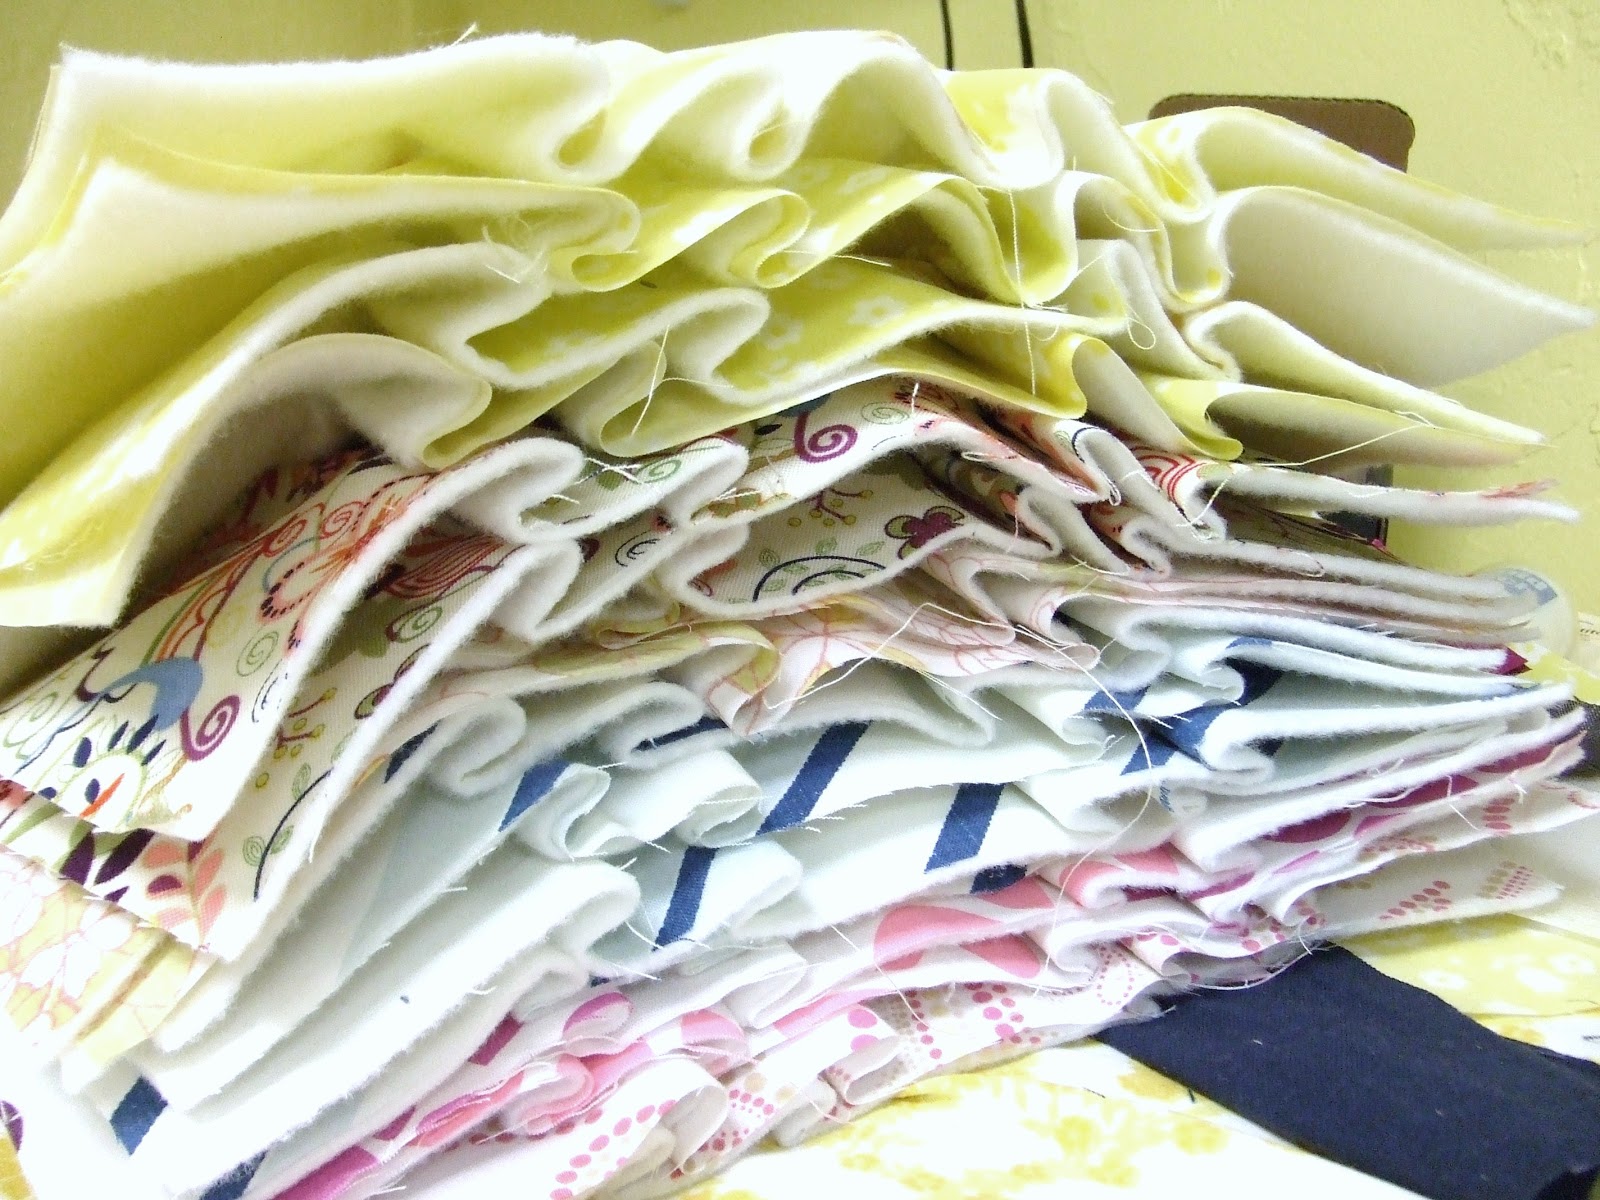
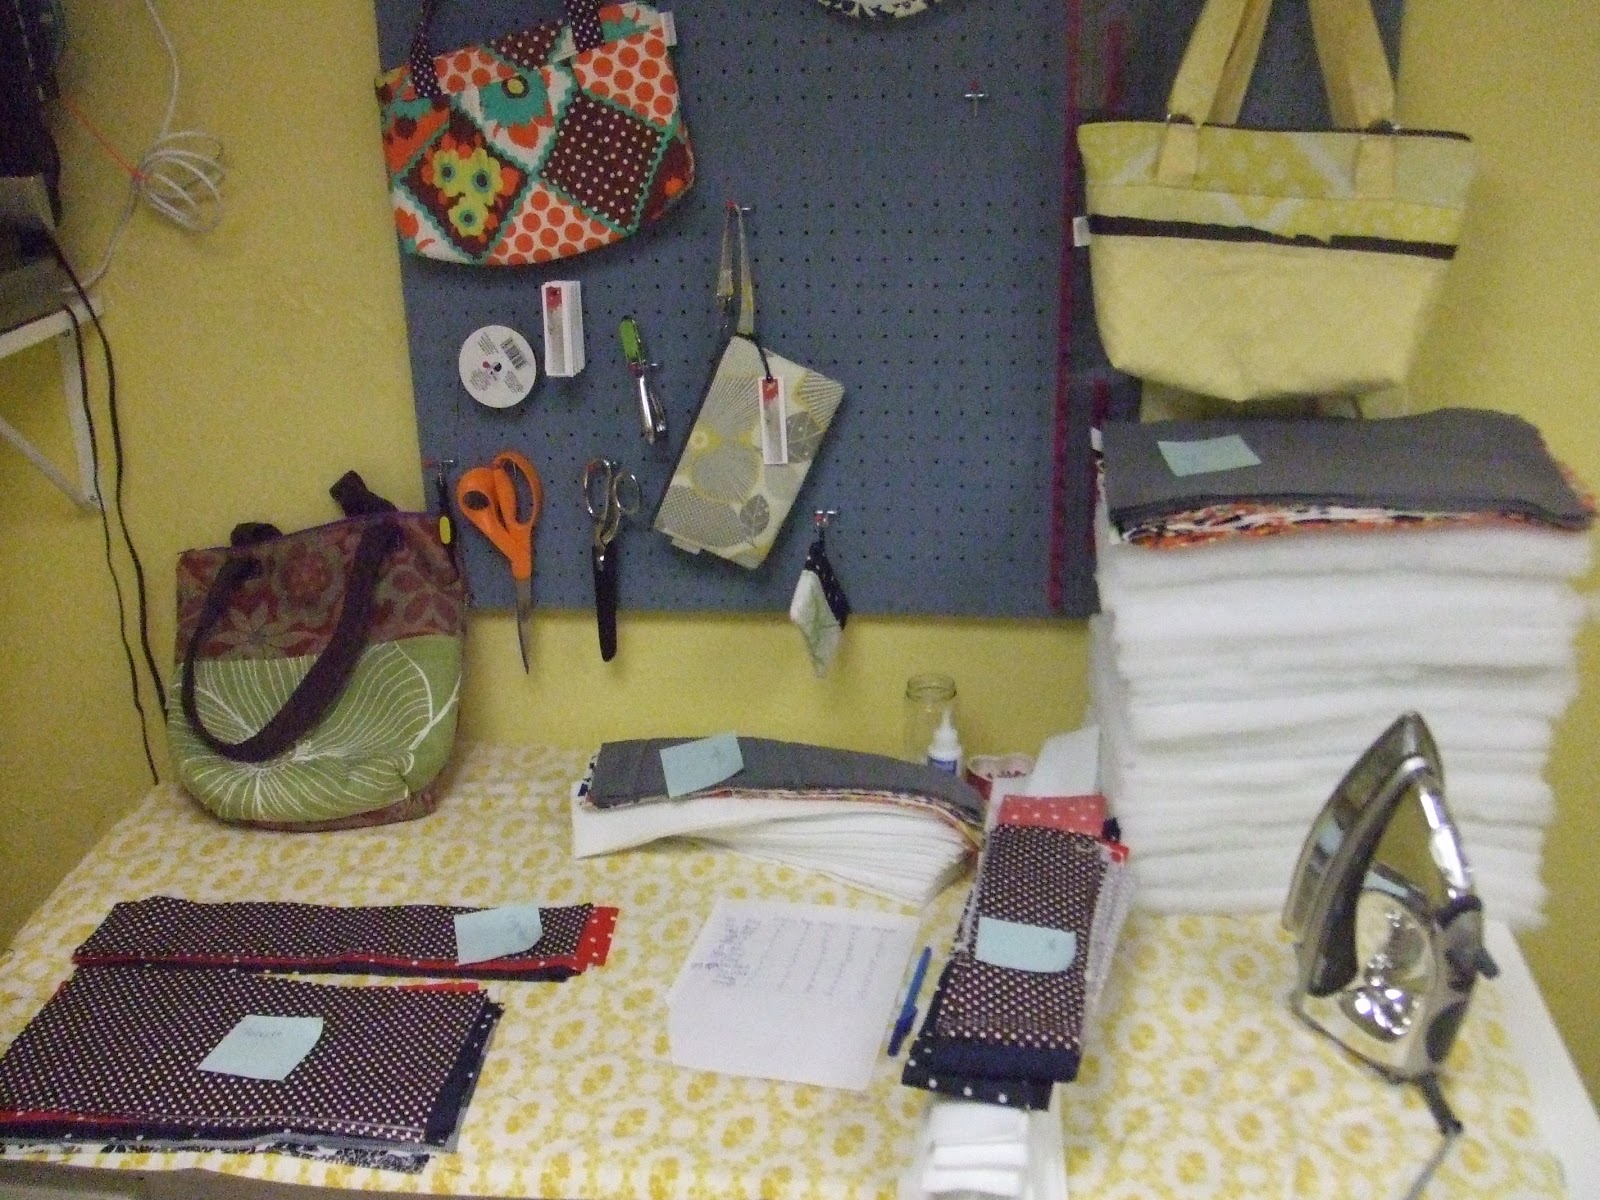
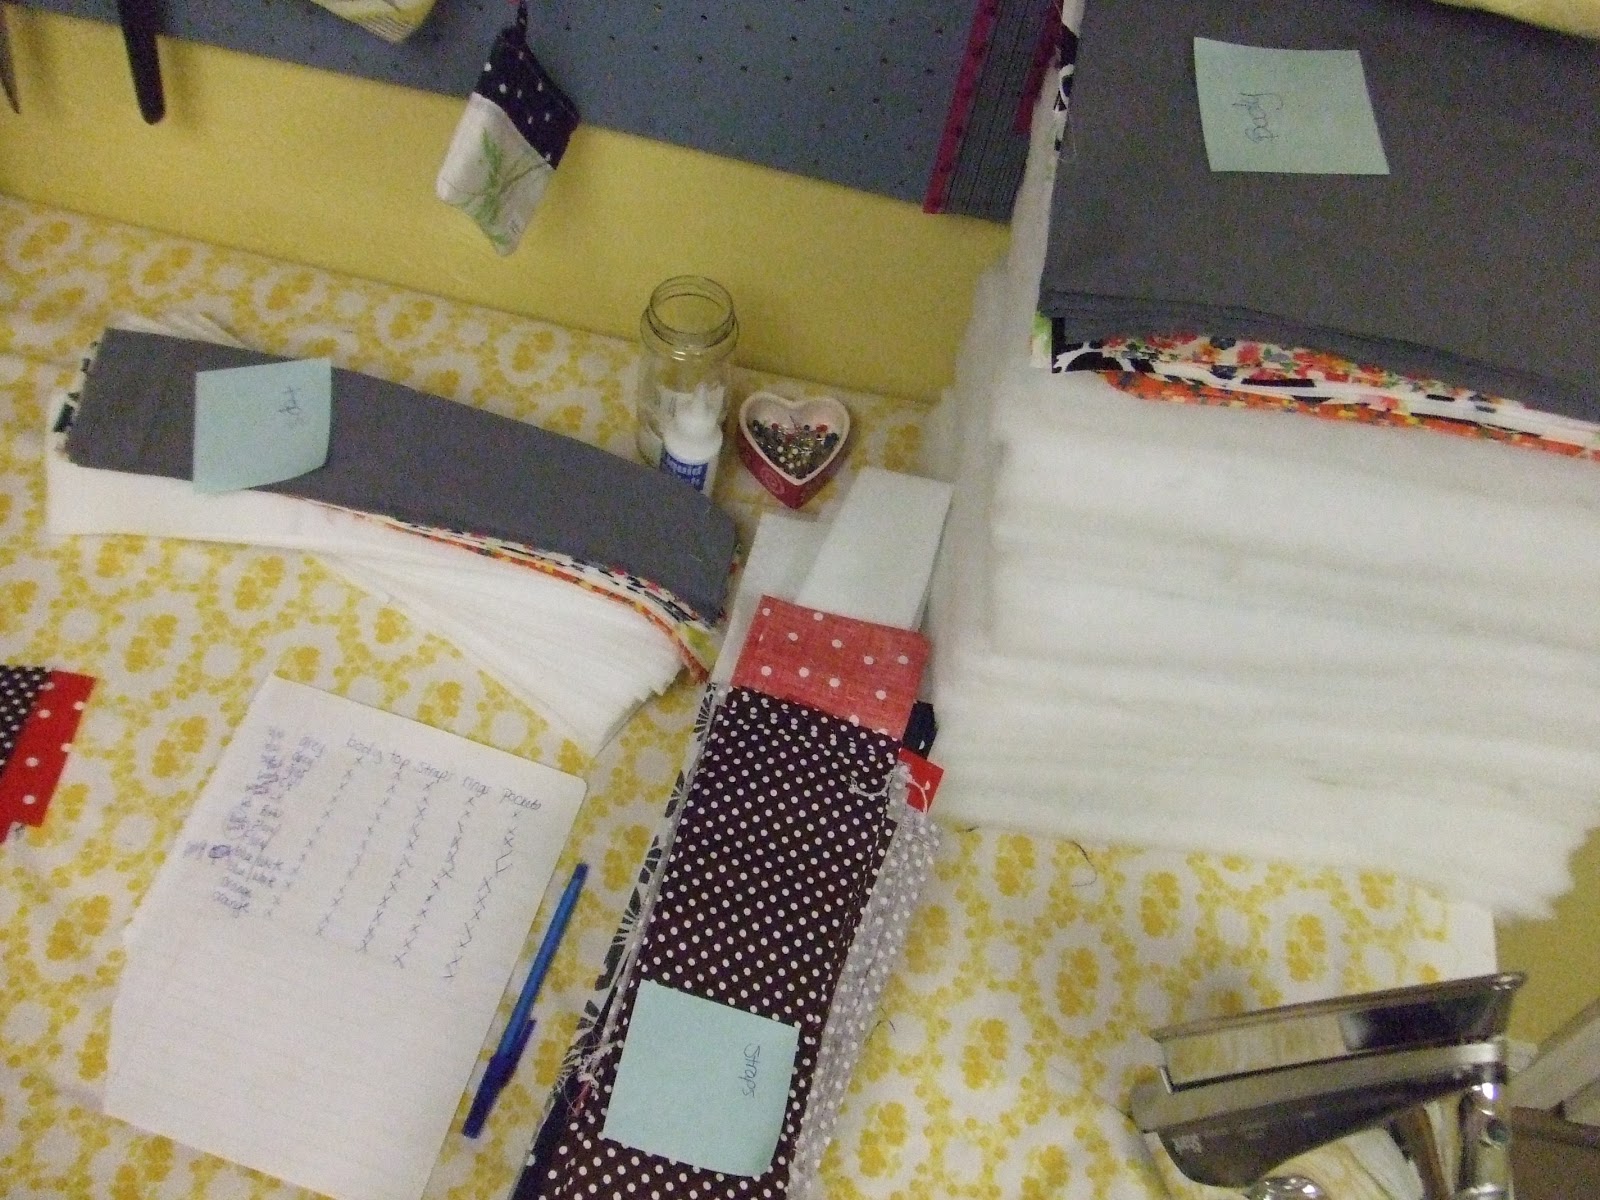
To keep order and to help me track what goes where, I cut out all the "parts" I need for the outside of these purses. Then I had to label them, so I would know what goes where. Thank goodness for sticky notes :)

Yes, I had to make a chart. I never makes charts, because that is too orderly for a scatterbrain such as me! But it was the only way I would know which fabric pieces I already cut, which fabrics I had to find,match and cut, and finally how to put them all back together again. I will repeat, thank goodness for sticky notes!

Ok, so to the general blog reader, it might look like I didn't get very far, that I only moved piles around a little, but REALLY I got a lot sewn and ironed! You can't see it but I finger ruffled 12 outside pockets yesterday. I was really proud of myself.

Next time I post about these purses, hopefully they will somewhat resemble something you might like to carry!
 Wish me luck.
Hold on.... the kids are calling me. Ugh.

Wednesday, July 13, 2011

My Newest Bag Design :)

Yesterday I caught the design bug. So I got my room in order, found a movie for the kiddos and went to work. I love the whole design process, from picking a fabric to holding the finished bag in my hands. The further I get, and as I see a brand new design come together, it just keeps getting better and better.

I grabbed an arm at Chloe's softball game to model for me. Thanks,Audi :)
 I was not allowed full body or face shots,lol!

I made huge double pockets on the front, which are detailed with a cute little finger pleated ruffle.

The bag is 4 inches deep, so it has a TON of space inside.

I wanted handles that were more than just utilitarian....but cute! So I added the rings :)


I was in a yellow mood, so I used a cute vintage yellow fabric with a new, buttery yellow plaid.
The trim is chocolate brown.  Can anyone guess what my favorite color is??? Hehe!


I have to price this bag yet, but my best guess is $45.  I have fabric laid out to make about 6 or so more, in different colors/patterns, so I should get some on etsy soon.  I even have some prints/combinations that I haven't used before, so be on the look out!
Hint: One contains an animal print. I am NOT an animal print fan, but this one is too much fun! I had to do it.