Showing posts with label DIY. Show all posts

Thursday, July 28, 2011

DIY Curtain Project

We have a beautiful, solid oak dining room table. It is big, heavy and has 4, yes I said 4, table leaves. These are great when we have a sit down dinner for 16...(read,NEVER) so I inevitably end up storing them. We tried storing them in the basement on shelves, but they took up too much space. We tried standing them upright in our hall closet, but with kids, it was dangerous. I had to find a place to store those monstrous things, so I would not have to look at them ANYMORE :)

So here is what I did, I sacrificed a section of my bedroom closet to make them a home. And also a place to store my American flag, apparently. If I were on the ball, it would be hanging proudly on my front porch, but since I always forget to take it down at dark, I feel disrespectful. So out of respect, it is in my closet. What?!?! Anyways...

Still ugly,huh? And did I mention there is a huge picture window directly in front of this shelf? A window that open to my front yard?  How will I ever hide these things?
On a trip to Walmart it came to me....

Here is how I did it:
I bought a $7 full size sheet in a color I liked. They have about a million to choose from. Just make sure it's a FLAT sheet. But you knew that already, right?
Then you'll need
-a sewing machine (or not, you can also use stitch witchery if you are a sewing machine - phobe)
-a seam ripper
-an iron
-a bar to hang your curtain on (I was able to use a clothes bar from my closet)
I measured the opening to my closet, and cut the sheet to the height, adding about 4 inches for the hem. Also keep your sheet at least twice the width of your opening, or you won't get any ruffle action. (Then it will look like you have a sheet hanging in your closet....)
I folded the bottom over twice to get a little weight at the bottom, as well as a straight hem. And since I was ironing, I stuck some stitch witchery in the hem as I folded  to "glue" my hem in place. It made it much easier to sew such a long straight line later.

I used the factory stitched top of the sheet as my curtain top. I had to open up the sides with my seam ripper, but then you are left with an open tube.
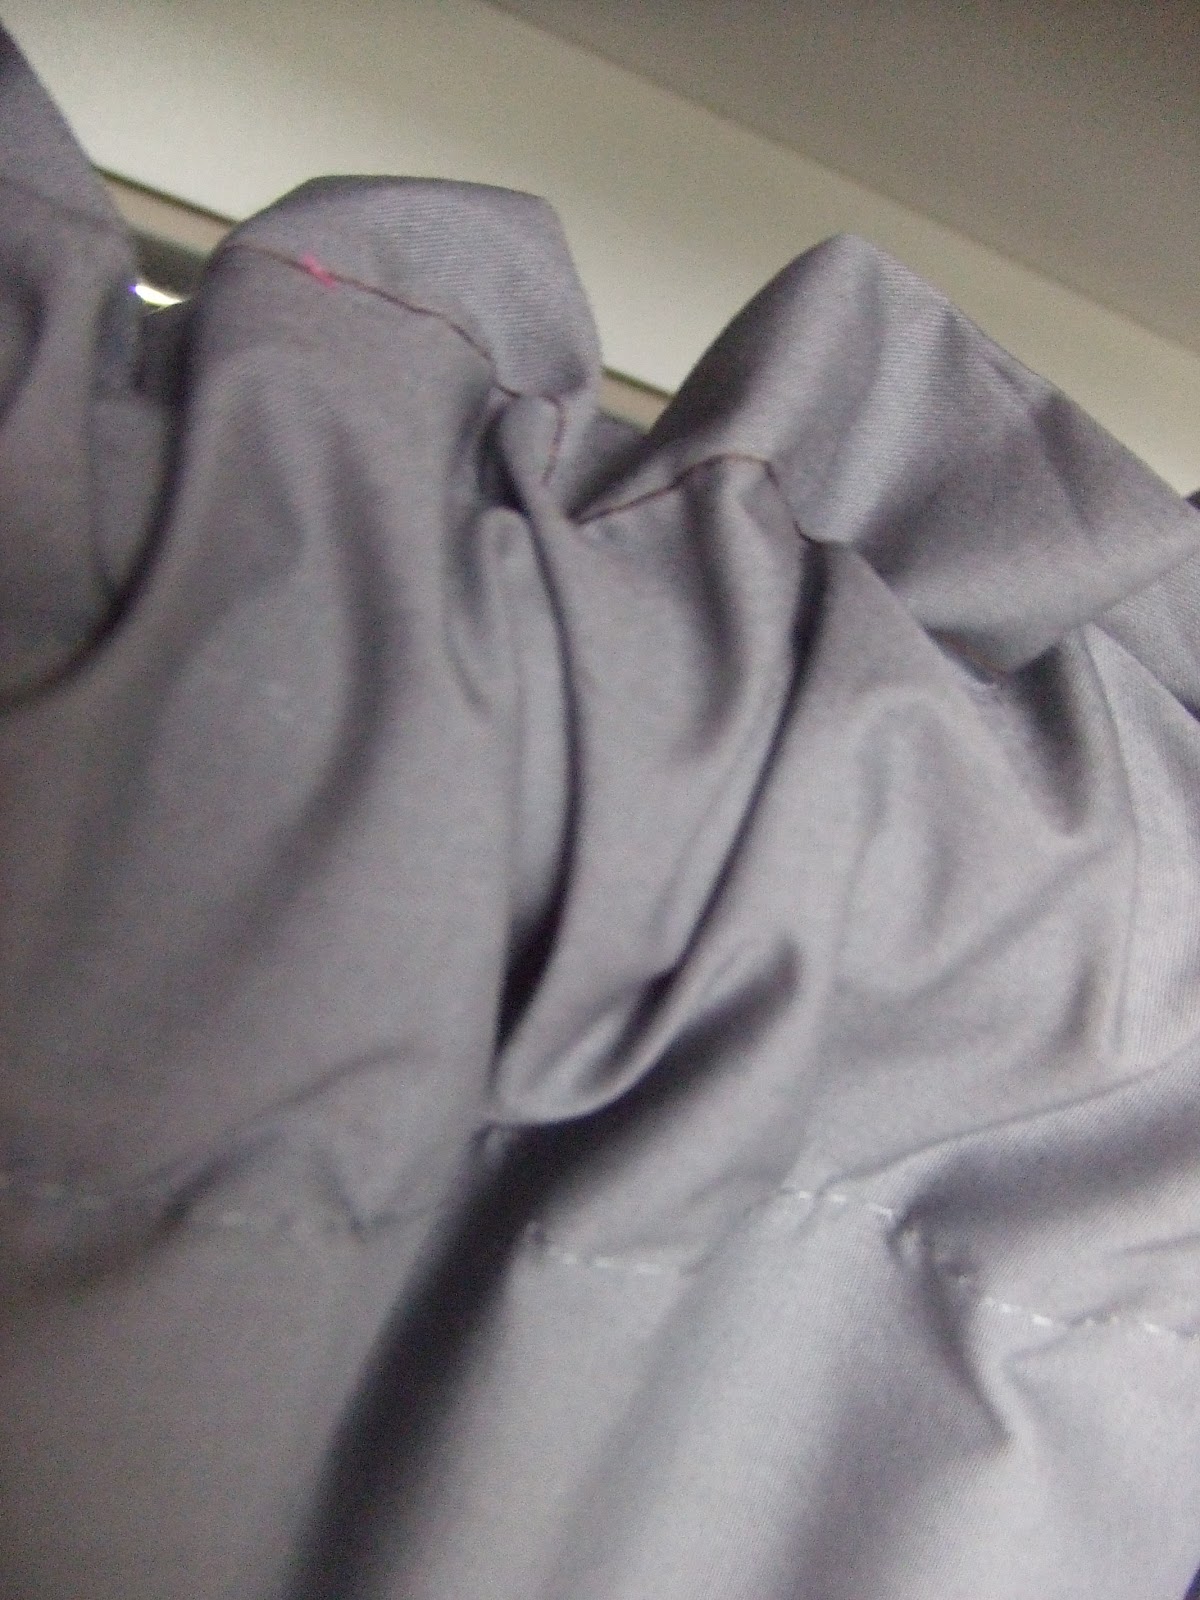
The factory stitching is gray, and I used brown, because I was in a hurry.  
But hey, it's easy for you  to see where I sewed :)

I stitched about an inch from the top of the tube to give a little extra ruffle.


And now I have a pretty, ruffly curtain to hide my hideous oak monstrosity's! Isn't it cute? These would work anywhere, even on a window. It's a low-sew to no-sew project that takes hardly any time at all.


Tuesday, July 12, 2011

How I Make My Own Laundry Soap and Fabric Softner

I am a sucker for all things handmade, so when a friend (now I have to plug her FB page...she is too cute!) Rita posted on Facebook that she makes her own detergent, I was intrigued! So I asked her for the recipe, and was shocked at how easy and fun it can be to make your own detergent. The hardest part is going to a couple different stores to get your ingredients...they can be a little tricky to find. And with my kids PILES of laundry, the cost per load savings are Grrrrr-eat!
How do such little bodies make so much laundry?!?!?
Here is Rita's recipe:
1 bar Fels Naptha Soap (finely grated in a food processor)
1 cup Washing SODA (Arm and Hammer brand)
1 cup Borax
...
Mix in a sealed container (or even an old commercial brand box works).

I have an HE/front loader and use approx 1-2 T of powder per load.


Easy-peasy, right? And I swear by it. It even removes the f-u-n-k-y odors I find lingering in my kids clothes! Amy and I make this together, everything is ALWAYS more fun with a friend :)  We like to go online and get ideas, to experiment and change up the recipe a little.
Me and Amy...
To go along with my new soap, I hated to add chemical laden commercial softener, so I did some research online and figured out how to make my own :) I will show you the recipe further down, but first I needed to show off the cute containers I made...total THRIFT STORE finds! I then took my cricut, and cut out vinyl letters as labels and made my  little glass containers cute enough to store on my laundry room counter.


And now for the fabric softener/deoderizer recipe I promised: Get out your paper and pencil, you will need to make a list.


1. White distilled vinegar
Thats it! I love my bottle of vinegar for many things, such as counter cleaner, carpet freshner, you name it, I'm the vinegar queen! So when I realized that I could use it to soften and deoderize my laundry, I was stoked! So I just removed the ugly Heinz label, slapped some vinyl on my vinegar bottle, and I then pour it directly into my machines softener dispenser.

 And before you ask, your clothes WILL NOT smell like a salad. The smell magically dissipates after vinegar dries,  leaving them simply smelling fresh and clean :)

If anyone has anything to add, or any fun laundry room tips, I'd love to hear them! I am also ALWAYS on the lookout for recipies for making my own cleaning products....hint,hint :)