
So here is what I did, I sacrificed a section of my bedroom closet to make them a home. And also a place to store my American flag, apparently. If I were on the ball, it would be hanging proudly on my front porch, but since I always forget to take it down at dark, I feel disrespectful. So out of respect, it is in my closet. What?!?! Anyways...

Still ugly,huh? And did I mention there is a huge picture window directly in front of this shelf? A window that open to my front yard? How will I ever hide these things?
On a trip to Walmart it came to me....
Here is how I did it:
I bought a $7 full size sheet in a color I liked. They have about a million to choose from. Just make sure it's a FLAT sheet. But you knew that already, right?
Then you'll need
-a sewing machine (or not, you can also use stitch witchery if you are a sewing machine - phobe)
-a seam ripper
-an iron
-a bar to hang your curtain on (I was able to use a clothes bar from my closet)
I measured the opening to my closet, and cut the sheet to the height, adding about 4 inches for the hem. Also keep your sheet at least twice the width of your opening, or you won't get any ruffle action. (Then it will look like you have a sheet hanging in your closet....)
 |
| I folded the bottom over twice to get a little weight at the bottom, as well as a straight hem. And since I was ironing, I stuck some stitch witchery in the hem as I folded to "glue" my hem in place. It made it much easier to sew such a long straight line later. |
I used the factory stitched top of the sheet as my curtain top. I had to open up the sides with my seam ripper, but then you are left with an open tube.
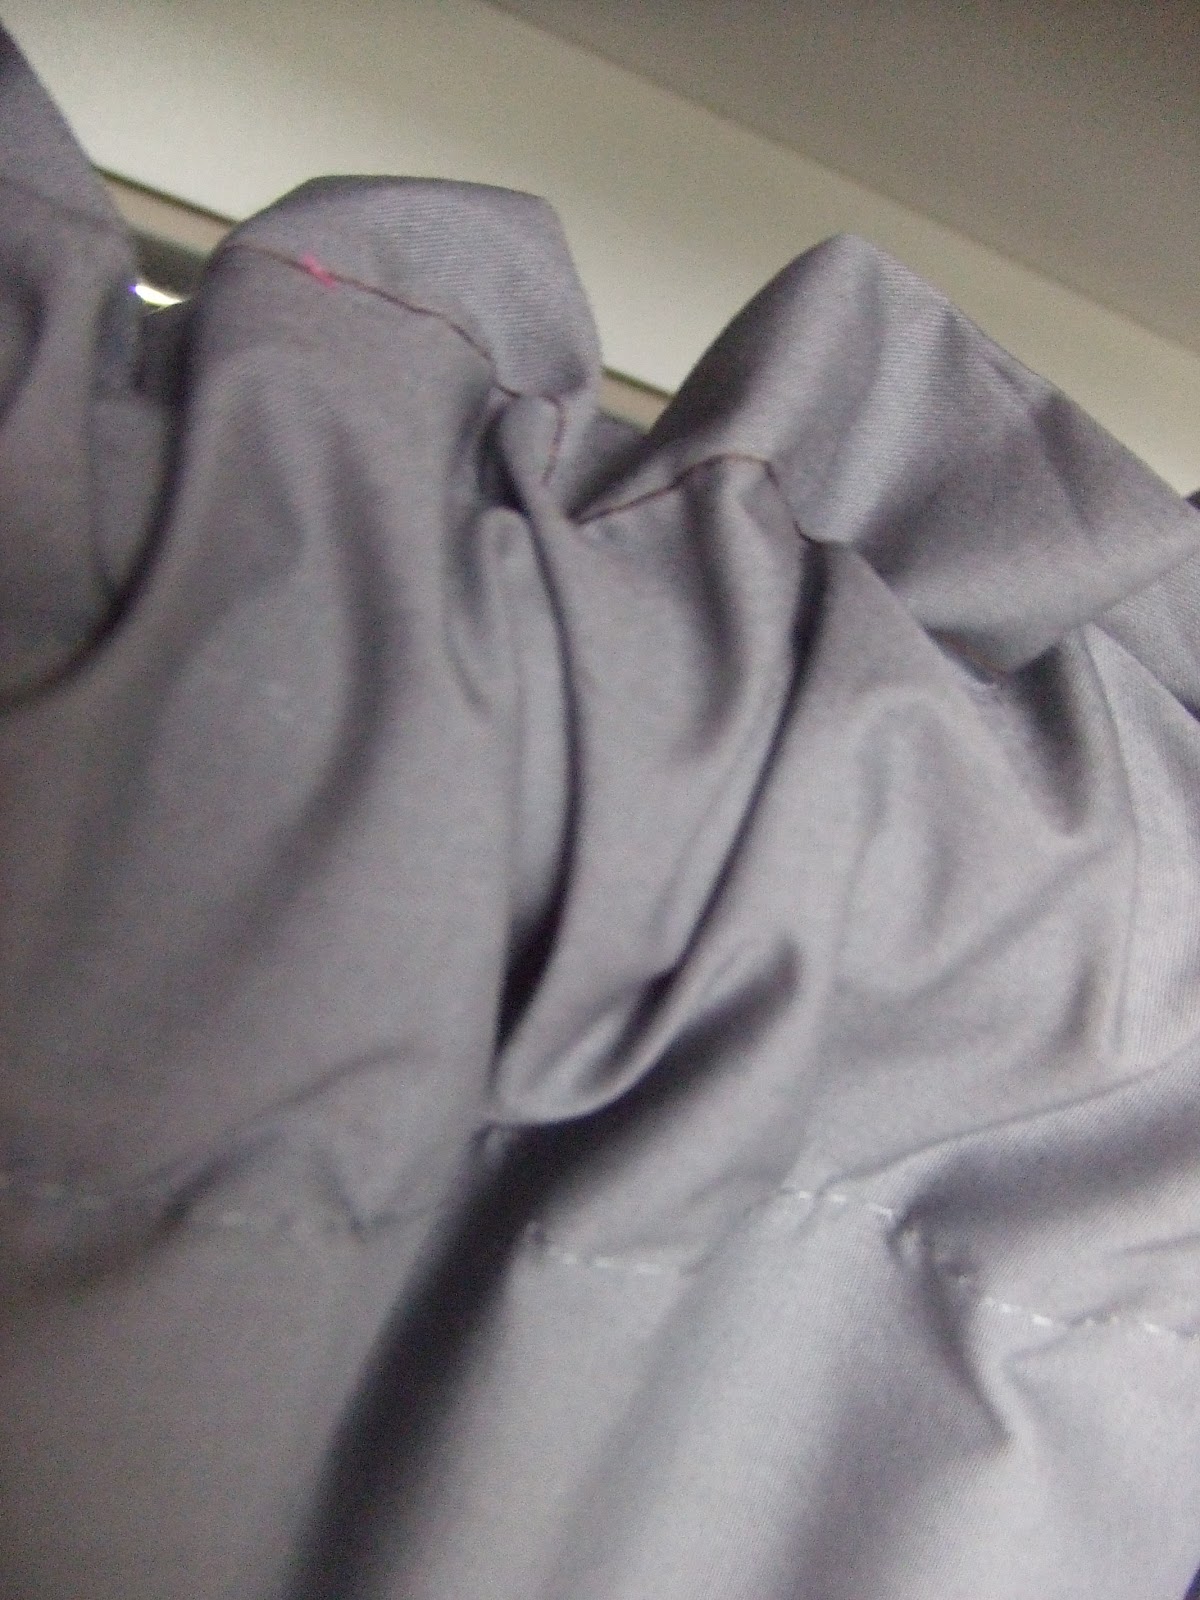 |
| The factory stitching is gray, and I used brown, because I was in a hurry. But hey, it's easy for you to see where I sewed :) |
 |
| I stitched about an inch from the top of the tube to give a little extra ruffle. |

And now I have a pretty, ruffly curtain to hide my hideous oak monstrosity's! Isn't it cute? These would work anywhere, even on a window. It's a low-sew to no-sew project that takes hardly any time at all.


 Last week I stepped out of the realm of comfort, and went as a featured guest at a Womens Gathering. First of all I was flattered that they would invite me, but most of all, I was honored at the opportunity to show my bags to new eyes. It was so much fun pairing my bags with outfits and accessories from other lines and seeing how easily a quick change of accessories can change your look. The coordinator had 3 models in basic outfits, and used bags, jewely and shoes to change the look based on their activities.

